> ## Documentation Index
> Fetch the complete documentation index at: https://docs.brightdata.com/llms.txt
> Use this file to discover all available pages before exploring further.
# Vapi AI MCP Server Integration
> Connect Vapi AI voice agents to the Bright Data MCP server (60+ tools) to give voice assistants real-time web search, scraping and structured data retrieval.
You might be eligible for our Startup Program. Get fully funded access to the infrastructure you're reading about right now (up to \$20K value).
## Watch the demo
## Quick Install
To integrate Bright Data into Vapi AI, add the following MCP server URL to your Vapi tools:
```http theme={null}
https://mcp.brightdata.com/sse?token=
```
## How to set up Vapi AI
Before you begin, ensure you have the following:
* [A Vapi AI account](https://vapi.ai) (sign up if you don't have one)
* [A Bright Data account](https://brightdata.com/?hs_signup=1\&utm_source=docs) (new users get free credit for testing, and then you can pay as you go)
* **An API key** from the [user settings page](https://brightdata.com/cp/setting/users) (New users receive an **API key** in the welcome email.)
If you prefer to use a different zone name, you can specify it with the `unlocker` url parameter variable in your configuration
Navigate to [vapi.ai](https://vapi.ai) and log in to your account.
Log in to your Bright Data account and navigate to the [user settings page](https://brightdata.com/cp/setting/users) to retrieve your API key.
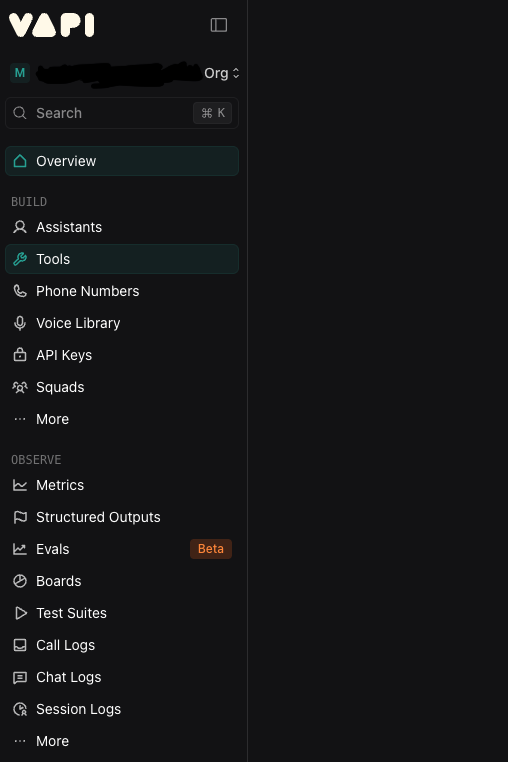
In your Vapi dashboard, click on **Tools** in the navigation menu.
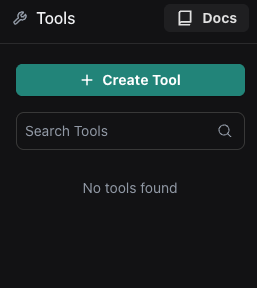
Click on **Create tool** button to start adding the Bright Data MCP integration.
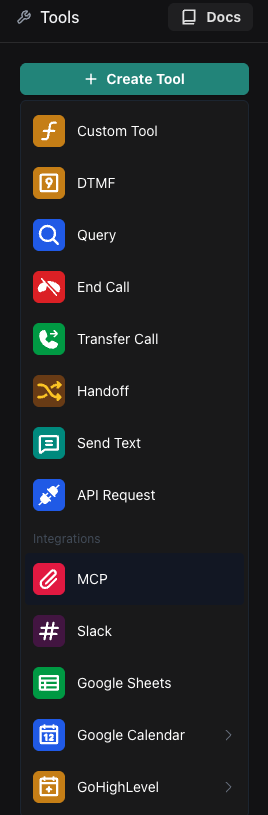
Select **MCP** as the tool type from the available options.
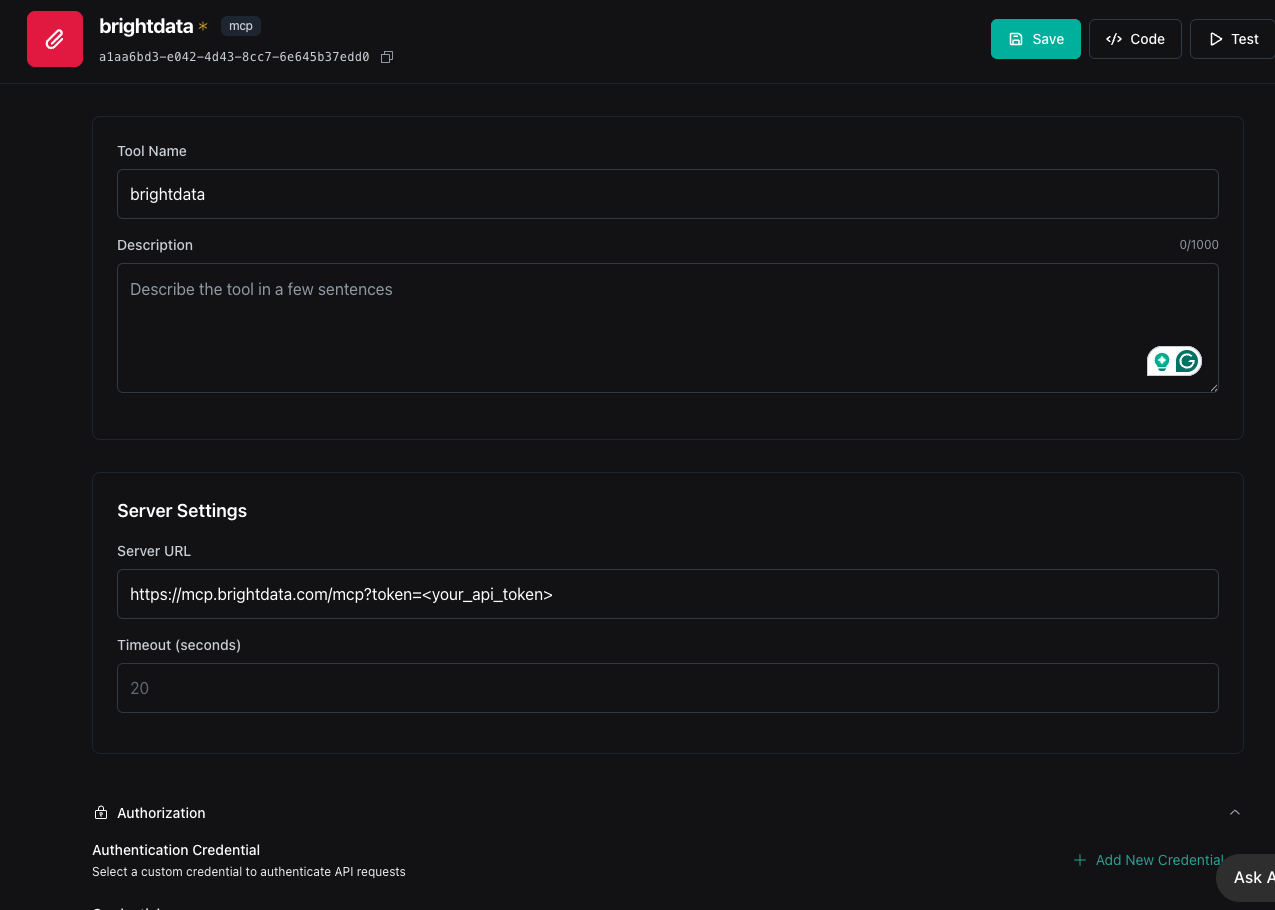
Configure your tool with the following settings:
* **Name**: `brightdata`
* **MCP Server URL**: `https://mcp.brightdata.com/sse?token=`
* Set the timeout to 120 seconds to avoid getting errors.
Replace `` with your actual API token from Bright Data.
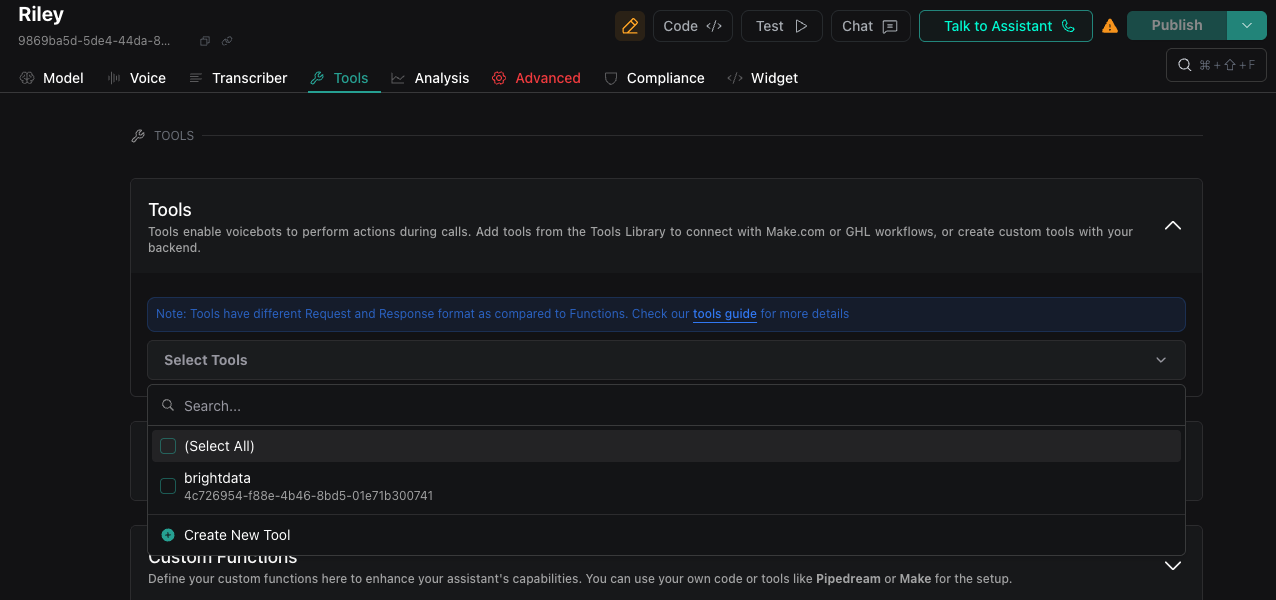
Navigate to your assistant settings and add the newly created Bright Data tool to enable the integration.
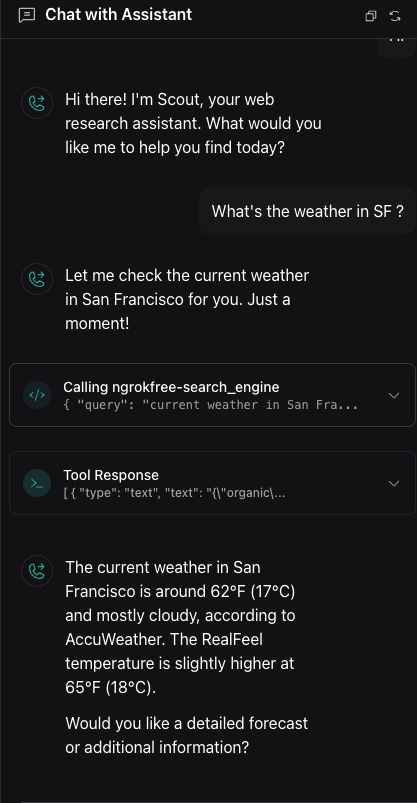
Verify the integration works correctly by:
* Testing through the Vapi chat interface
* Making a test web call to your assistant
You should see the Bright Data tools available and responding to your requests.
## What's Next?
Now that you've integrated Bright Data with Vapi AI, you can:
* Use web scraping capabilities directly in your voice AI conversations
* Use [Vapi's workflows](https://docs.vapi.ai/workflows/quickstart) for creating more complex voice AI agents
* Access real-time data from various sources
* Enhance your assistant with powerful data collection features
For more information about Bright Data's MCP capabilities, visit the [Bright Data documentation](https://brightdata.com/products/web-scraper/mcp).