> ## Documentation Index
> Fetch the complete documentation index at: https://docs.brightdata.com/llms.txt
> Use this file to discover all available pages before exploring further.
# Getting Started with Browser Extension
> Install and configure the Bright Data Browser Extension for Chrome (port 33335) to route browser traffic with 1-click country switching across 195 countries.
## Quick Start
Follow these steps to start using the Bright Data Browser Extension:
To start using the extension, you need at least **one active zone** in your Bright Data account.
* Check your existing zones on the [My Proxies](https://brightdata.com/cp/zones) page.
* If you don’t have a zone yet, click **Add** to create a new zone.
 For detailed instructions on creating zones, see our guides for [Datacenter](/proxy-networks/data-center/introduction), [ISP](/proxy-networks/isp/introduction), [Residential](/proxy-networks/residential/introduction), and [Mobile](/proxy-networks/residential/introduction).
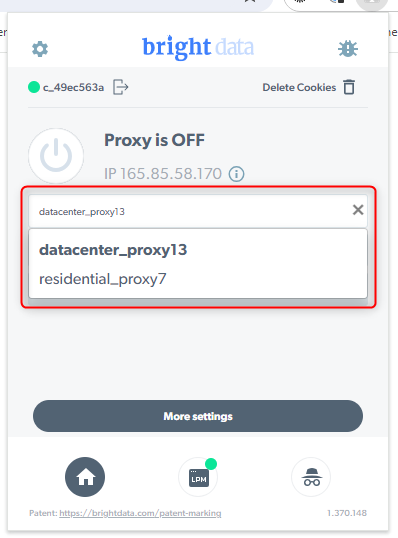
In the extension, select the zone you want to use from the dropdown.
For detailed instructions on creating zones, see our guides for [Datacenter](/proxy-networks/data-center/introduction), [ISP](/proxy-networks/isp/introduction), [Residential](/proxy-networks/residential/introduction), and [Mobile](/proxy-networks/residential/introduction).
In the extension, select the zone you want to use from the dropdown.
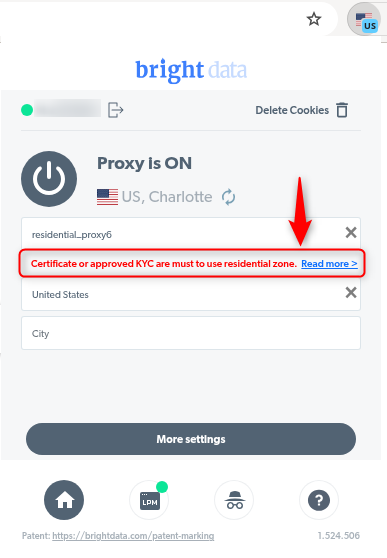
 If you select a **Residential** zone and see the message *"Certificate or approved KYC are required to use residential zone"*, you need to install our SSL certificate in Chrome.
* Follow the [Chrome certificate installation guide](https://docs.brightdata.com/general/account/ssl-certificate#installation-instructions).
* To learn more about Residential network access modes, see the [Residential access guide](https://docs.brightdata.com/proxy-networks/residential/network-access).
If you select a **Residential** zone and see the message *"Certificate or approved KYC are required to use residential zone"*, you need to install our SSL certificate in Chrome.
* Follow the [Chrome certificate installation guide](https://docs.brightdata.com/general/account/ssl-certificate#installation-instructions).
* To learn more about Residential network access modes, see the [Residential access guide](https://docs.brightdata.com/proxy-networks/residential/network-access).
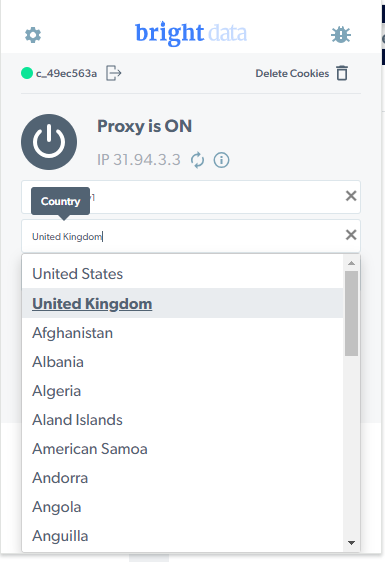
 Choose the country and, if available, the city you want to use for your zone.
City-level targeting is only available for **Residential** and **Mobile** zones.
For setup instructions, see [How to enable city selection](/proxy-networks/browser-extension/quickstart#how-to-enable-city-selection).
Choose the country and, if available, the city you want to use for your zone.
City-level targeting is only available for **Residential** and **Mobile** zones.
For setup instructions, see [How to enable city selection](/proxy-networks/browser-extension/quickstart#how-to-enable-city-selection).
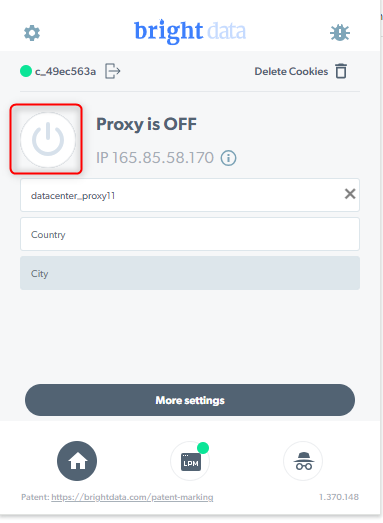
 Turn on the proxy in the extension to start browsing with your selected zone.
 ## How to enable city selection
1. In your Control Panel, go to the [My Proxies](https://brightdata.com/cp/zones) page
2. Open the **Residential** or **Mobile** zone where you want to enable city selection.
## How to enable city selection
1. In your Control Panel, go to the [My Proxies](https://brightdata.com/cp/zones) page
2. Open the **Residential** or **Mobile** zone where you want to enable city selection.
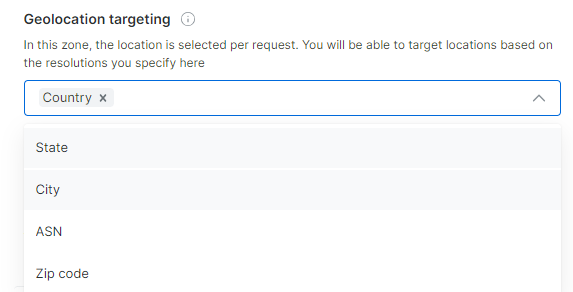
 3. Under **Geolocation targeting**, choose **City**.
 4. Save your changes.