Demo
Quick Install
To integrate Bright Data into Vapi AI, add the following MCP server URL to your Vapi tools:Setup Guide
1
Prerequisites
Before you begin, ensure you have the following:
- A Vapi AI account (sign up if you don’t have one)
- A Bright Data account (new users get free credit for testing, and then you can pay as you go)
- An API key from the user settings page (New users receive an API key in the welcome email.)
2
Login to Vapi AI
Navigate to vapi.ai and log in to your account.
3
Claim Your Bright Data API Key
Log in to your Bright Data account and navigate to the user settings page to retrieve your API key.
4
Access Tools in Vapi
In your Vapi dashboard, click on Tools in the navigation menu.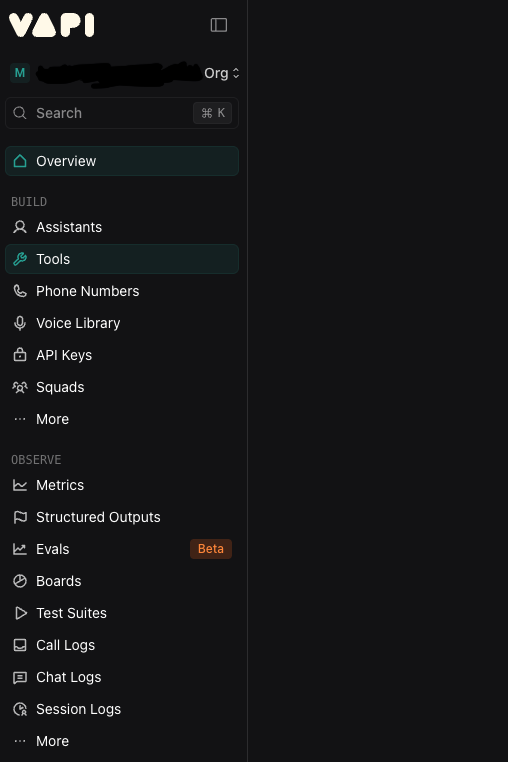
5
Create a New Tool
Click on Create tool button to start adding the Bright Data MCP integration.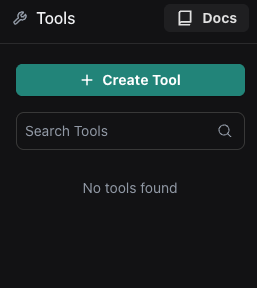
6
Choose MCP
Select MCP as the tool type from the available options.
7
Configure the MCP Server
Configure your tool with the following settings: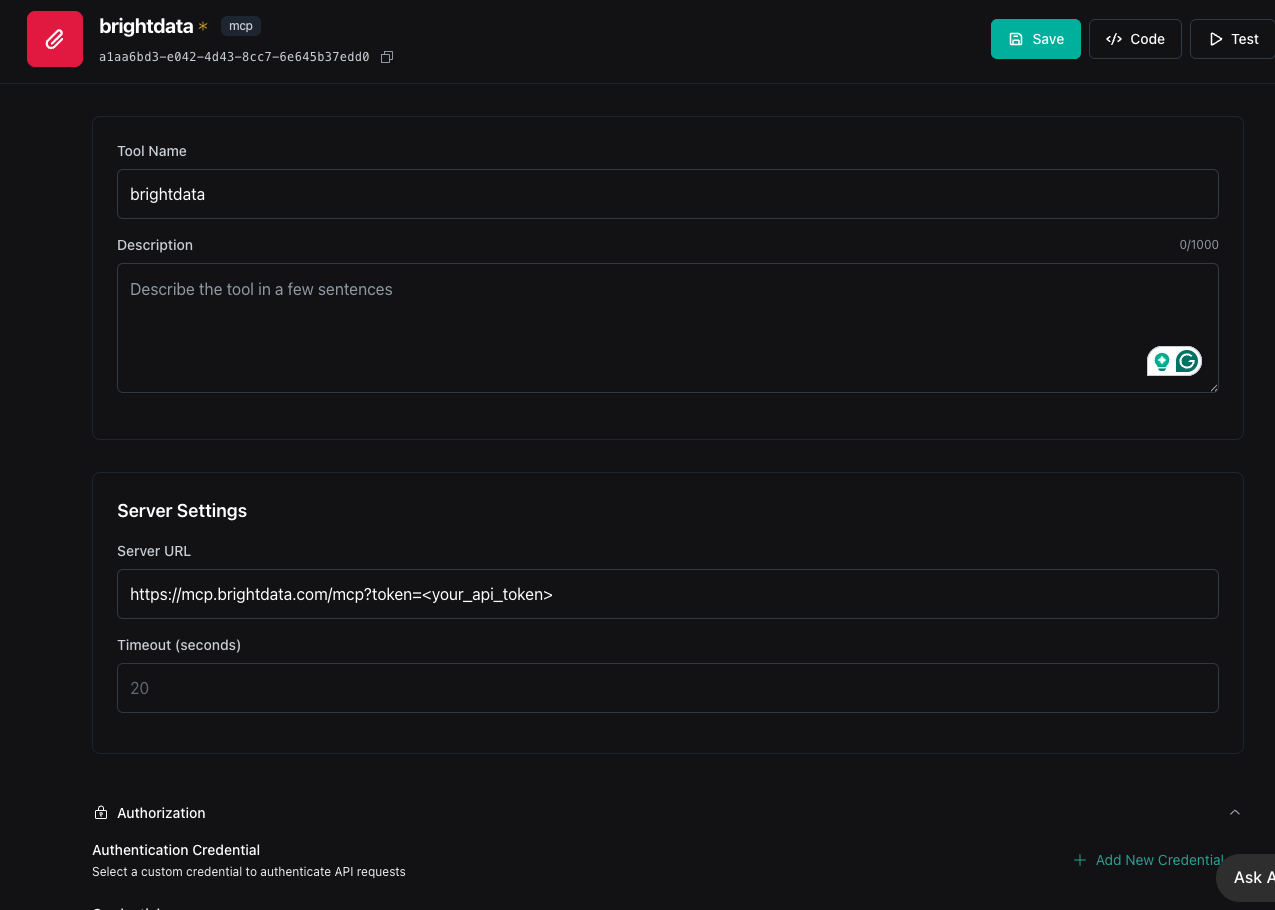
- Name:
brightdata - MCP Server URL:
https://mcp.brightdata.com/sse?token=<your-api-token> - Set the timeout to 120 seconds to avoid getting errors.
<your-api-token> with your actual API token from Bright Data.8
Add Tool to Assistant
Navigate to your assistant settings and add the newly created Bright Data tool to enable the integration.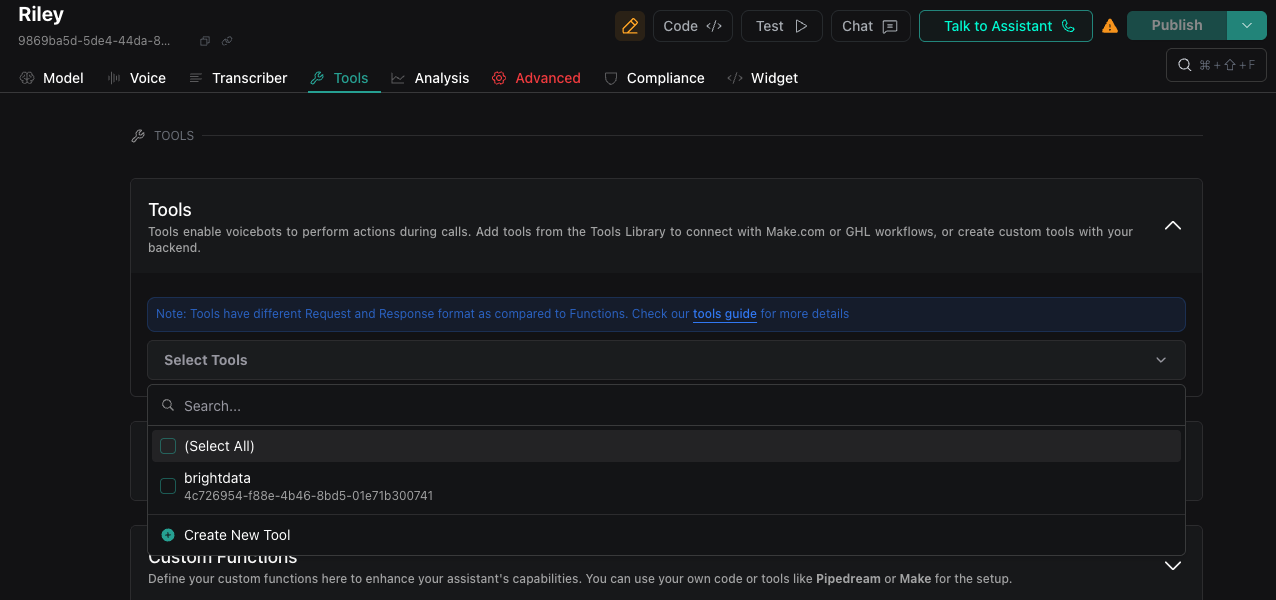
9
Test the Integration
Verify the integration works correctly by: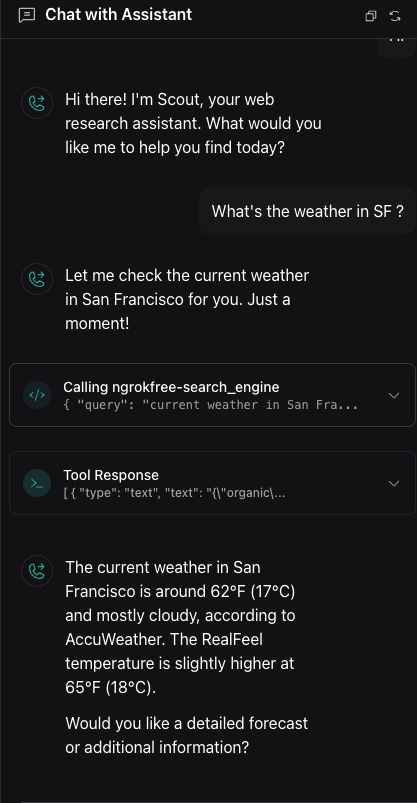
- Testing through the Vapi chat interface
- Making a test web call to your assistant
What’s Next?
Now that you’ve integrated Bright Data with Vapi AI, you can:- Use web scraping capabilities directly in your voice AI conversations
- Use Vapi’s workflows for creating more complex voice AI agents
- Access real-time data from various sources
- Enhance your assistant with powerful data collection features