

Quick Start
Follow these steps to start using the Bright Data Browser Extension:1
Set up an active zone in your account
To start using the extension, you need at least one active zone in your Bright Data account.
- Check your existing zones on the My Proxies page.
- If you don’t have a zone yet, click Create Proxy to create a new zone.
2
Select your active zone
In the extension, select the zone you want to use from the dropdown.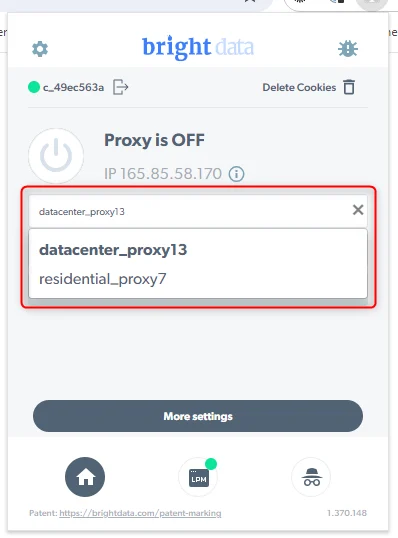
3
Install SSL certificate for Residential zones (if required)
If you select a Residential zone and see the message “Certificate or approved KYC are required to use residential zone”, you need to install our SSL certificate in Chrome.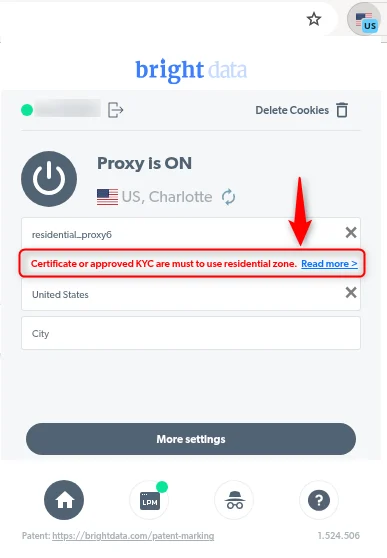
- Follow the Chrome certificate installation guide.
- To learn more about Residential network access modes, see the Residential access guide.
4
Select country and city
Choose the country and, if available, the city you want to use for your zone.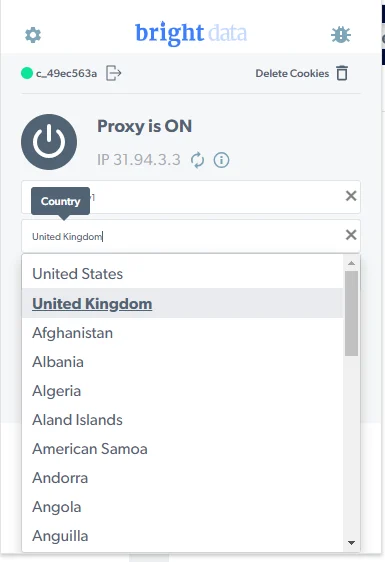
City-level targeting is only available for Residential zones.For setup instructions, see How to enable city selection.
5
Turn on the proxy
Turn on the proxy in the extension to start browsing with your selected zone.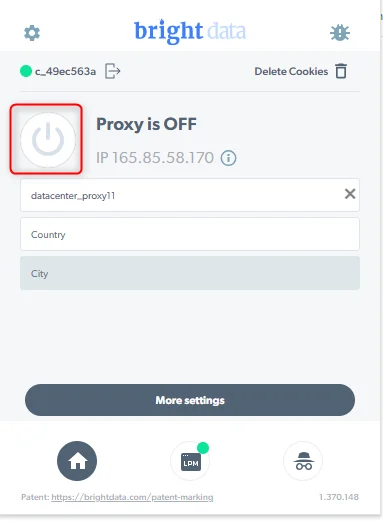
How to enable city selection
- In your Control Panel, go to the My Proxies page
- Open the Residential zone where you want to enable city selection.

- Under Geolocation targeting, choose City.
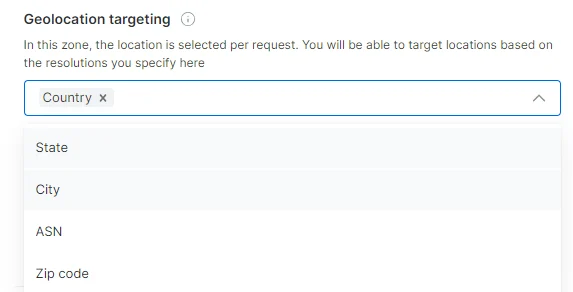
- Save your changes.