Building an AI startup?
You might be eligible for our Startup Program. Get fully funded access to the infrastructure you’re reading about right now (up to $20K value).
Hosted MCP
Get your API token
- Go to Bright Data user settings
- Copy your API token (it looks like:
2dceb1aa0***************************)
Set up your Cloudflare environment
Make sure you have Node.js 20+ installed, then log in to Cloudflare:
Configure environment variables
Copy the example env file and add your OpenAI API key:Edit
.dev.vars:Connect Bright Data MCP in your agent
In Replace it with the Bright Data MCP connection:
src/server.ts, find the default commented-out MCP connection inside onChatMessage:Make sure
mcp.connect() is called before this.mcp.getAITools() to avoid jsonSchema not initialized errors.Test it works
- Replace
<API_TOKEN>with your actual Bright Data API token - Start the development server:
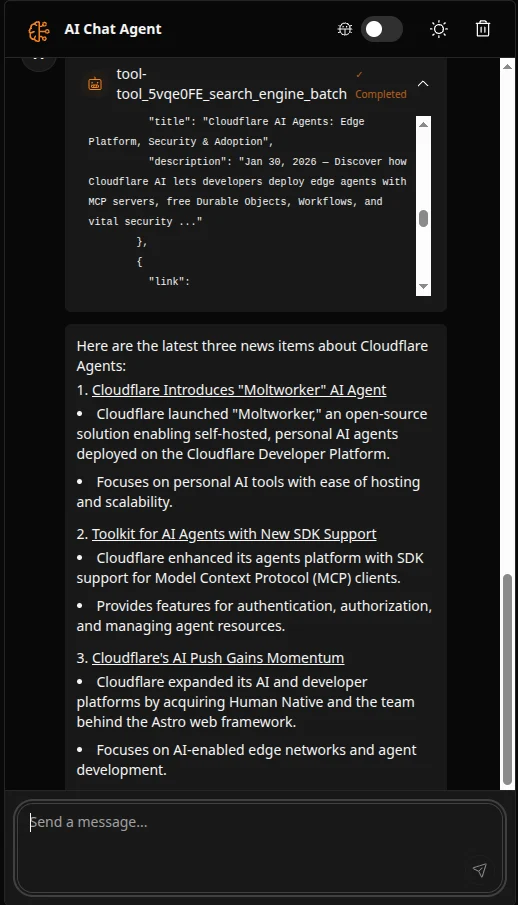
- Open the app in your browser and ask the agent a question, for example:
Monitor usage
- View your API usage at My Zones in your Bright Data dashboard
- Your free tier includes 5,000 requests per month