- Bright Data account
- OpenAI Account with a verified organization
1
Create a new flow
Go to Agent Builder and create a new flow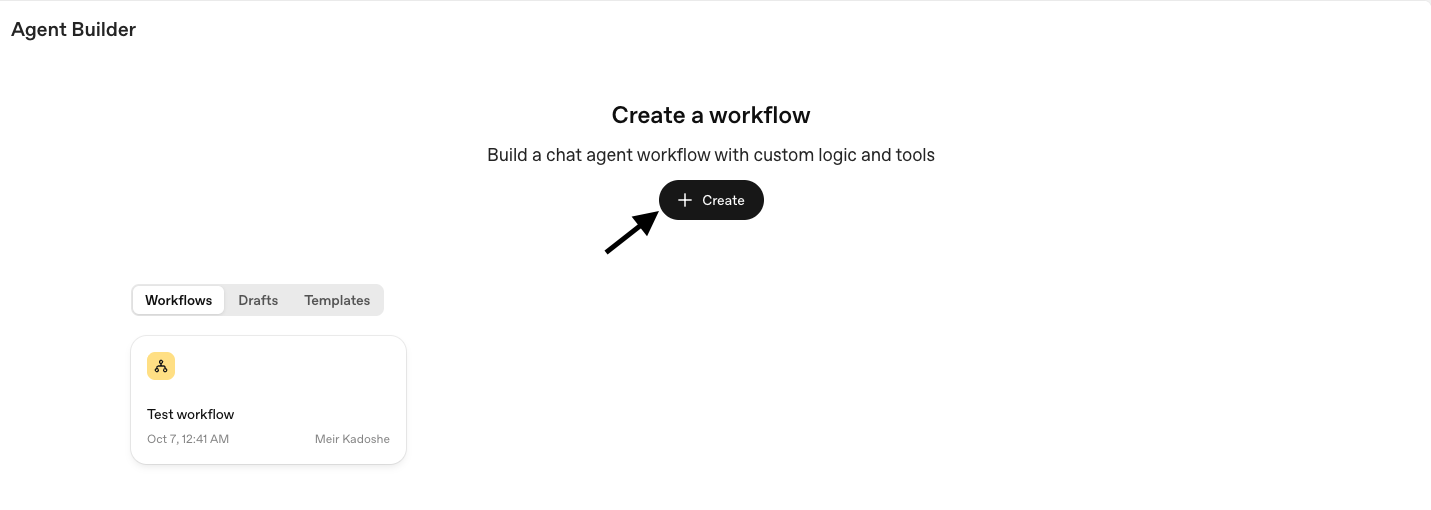
2
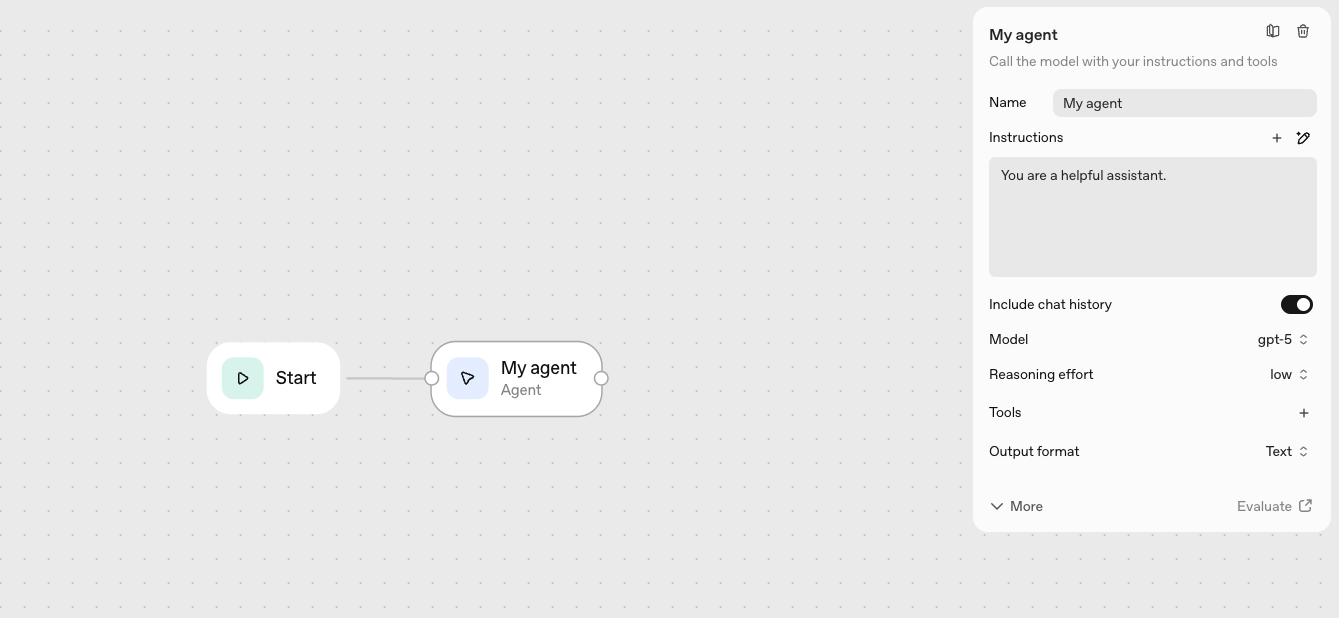
Click on the agent node
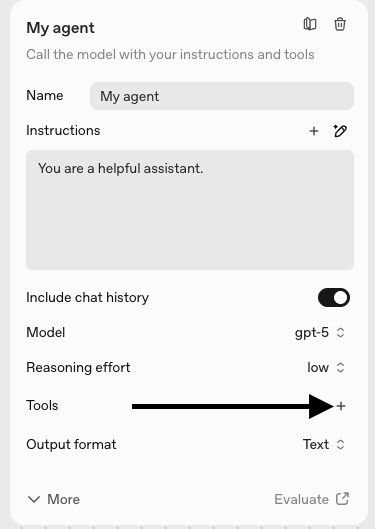
3
Click on Tools to add the MCP
4
Choose MCP and add the Web MCP server
Copy and paste the following URL into the URL section:Replace Then click the Connect button.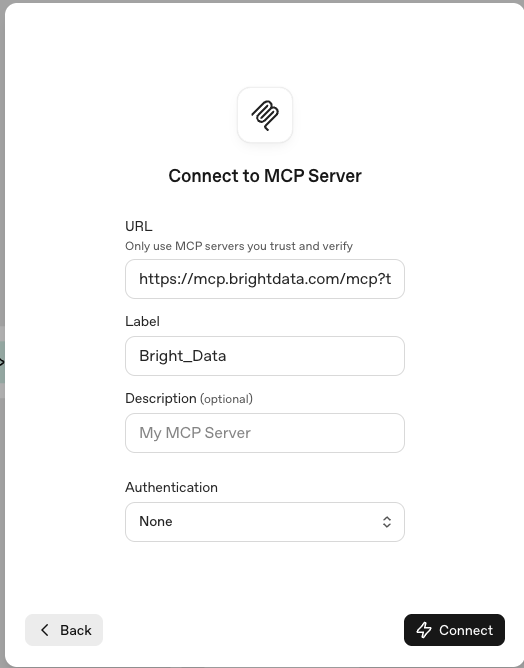
YOUR_API_KEY with your actual Bright Data API key.You can copy this URL with a pre-filled API key from your control panel
5
Choose your preferred tools and add them
Here you can choose the relevant tools you want to expose to the agent, or add all of them by clicking the Add button.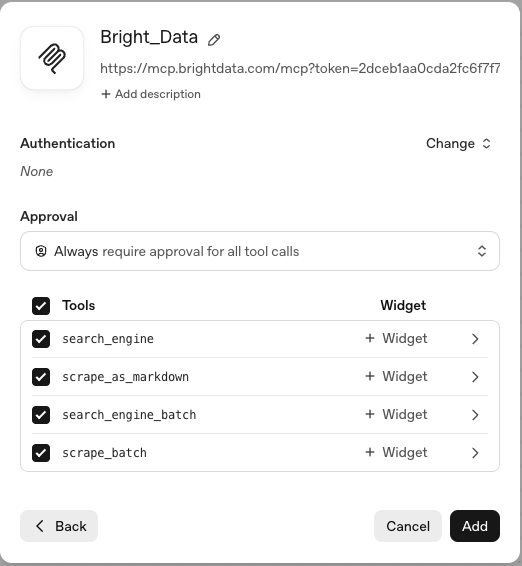
6
Configure your agent with a name and instructions
Give your agent a name, provide an instruction set, choose the reasoning effort level, and click the Preview button to test it.
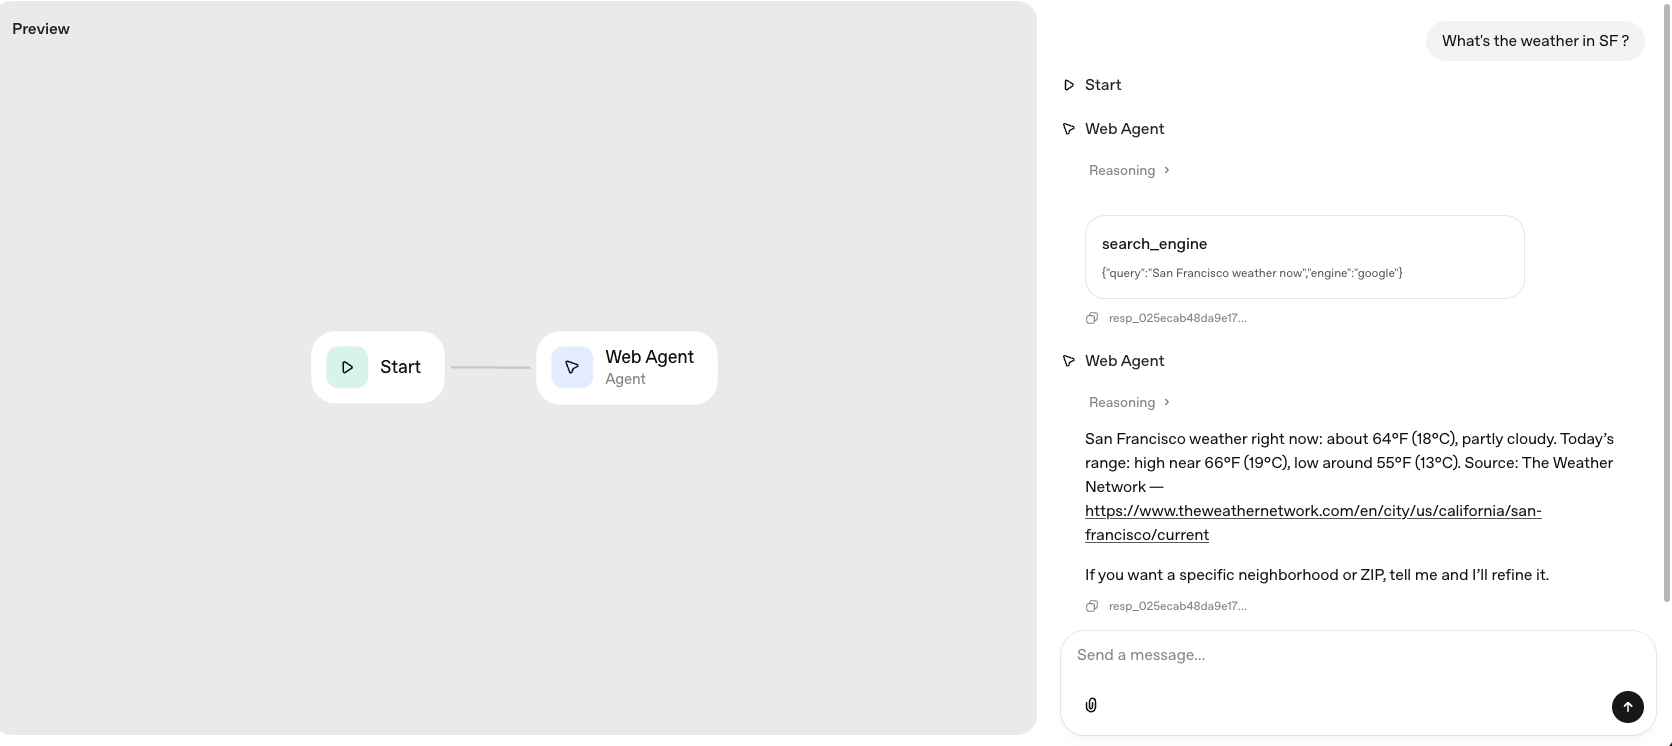
7
Test your agent
Ask your agent any question that requires real-time web data and get an instant answer.