Why does the login message keeps appearing?
Why does the login message keeps appearing?
Bright Data uses cookies to remember your login credentials in order to keep your user experience at its best. If you are using third-party extensions that regularly removes cookies from your device then you’ll see the login message quite often.
I upgraded to new bright data SSL certificate and extension stopped working
I upgraded to new bright data SSL certificate and extension stopped working
Browser extension does not yet support the new SSL certificate (which works with port
33335).
Support for new certificate will be introduced soon and then you can work with the new certificate.How can you avoid getting login message?
How can you avoid getting login message?
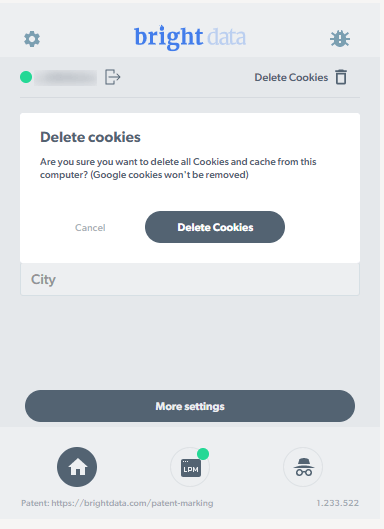
In the top right corner you can click on “Delete Cookies”. This will delete all the cookies from your device except Bright Data’s and Google’s cookies so you could keep using our service with no interruptions and keep your browser extensions alive.

Does the extension work in incognito mode?
Does the extension work in incognito mode?
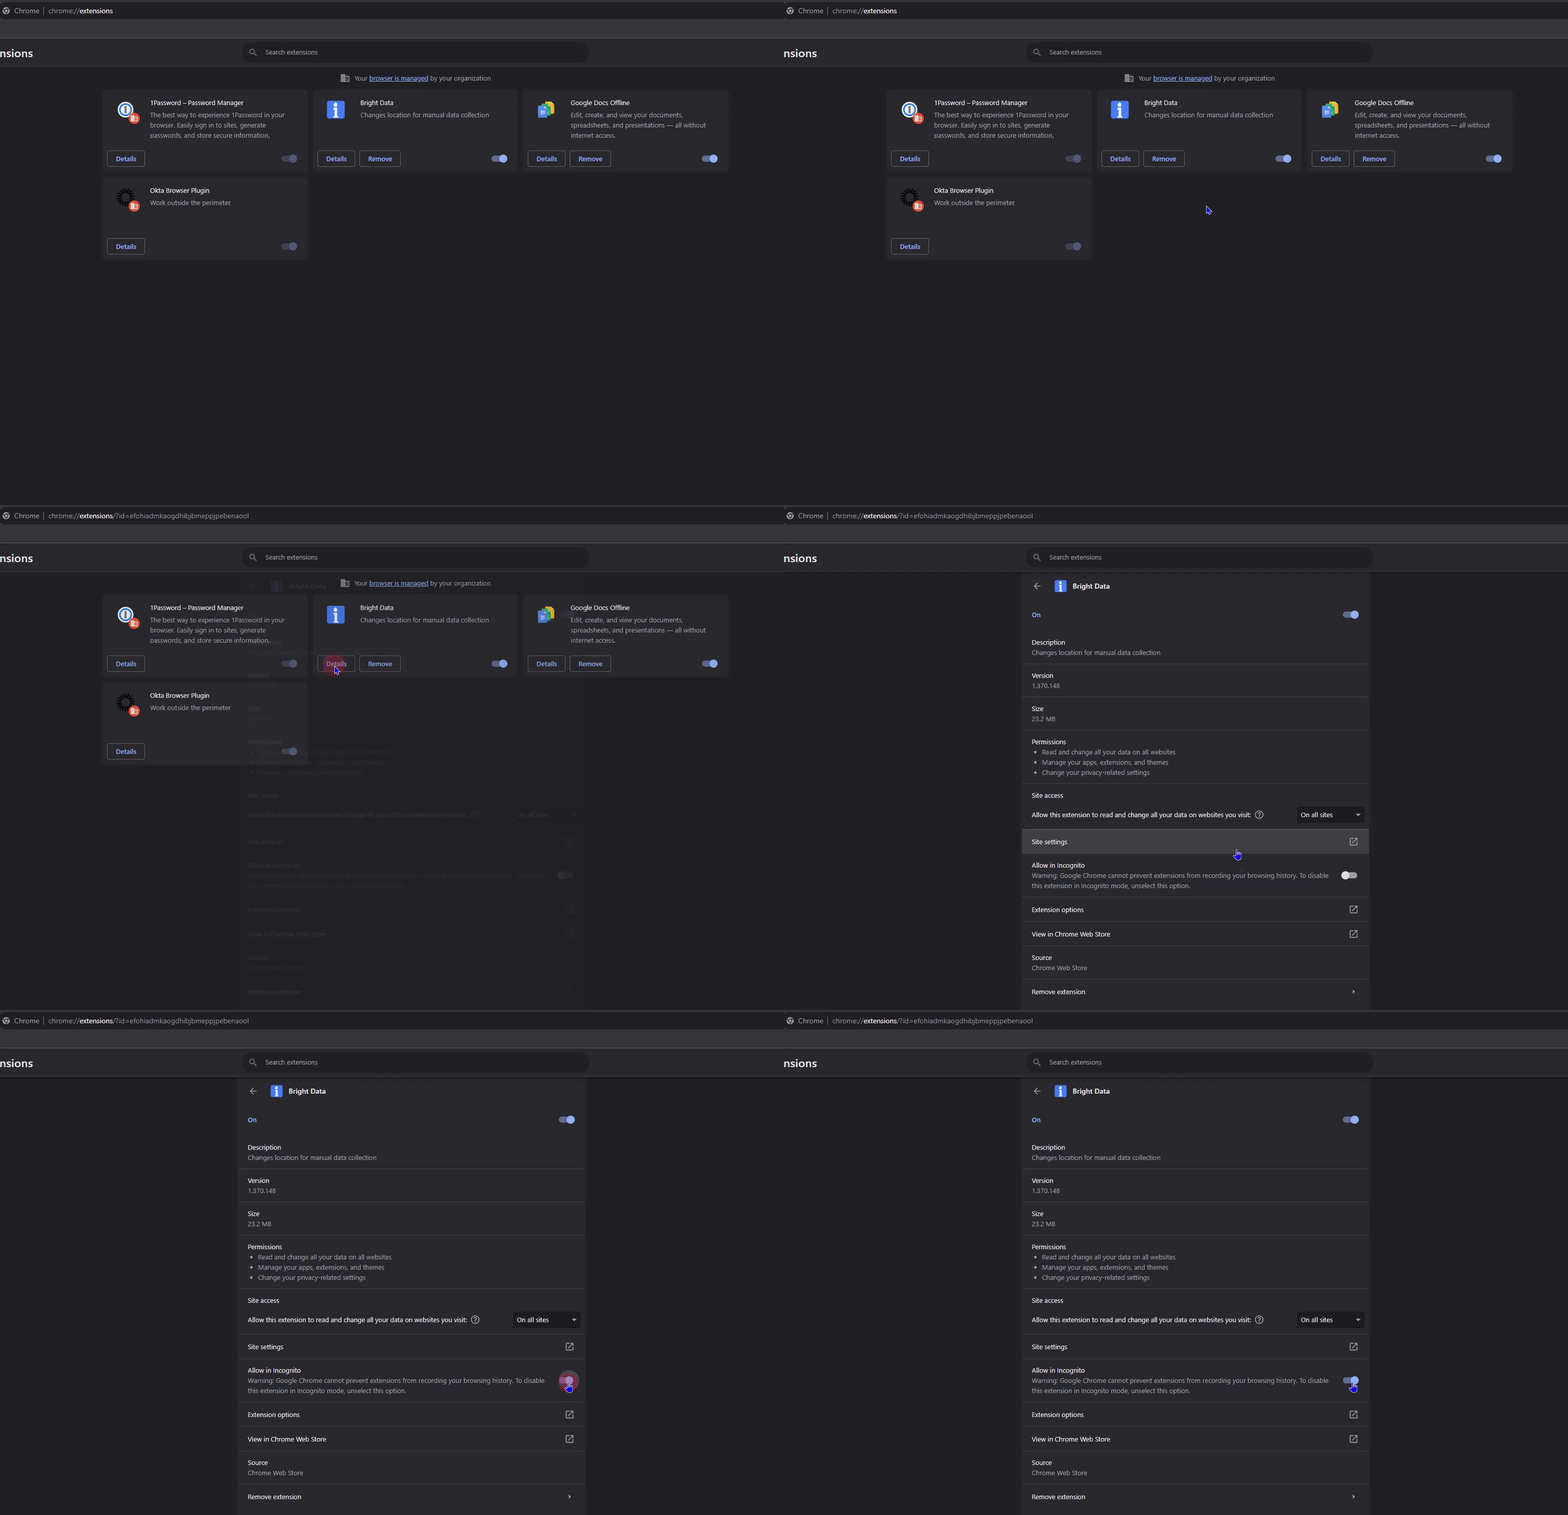
Yes!Bright Data extension works on both regular and incognito mode.To enable incognito support on Chrome, do the following:
- Type chrome://extensions in the chrome address bar
-
Make sure Allow in incognito is checked

When should I use custom headers?
When should I use custom headers?
Custom headers are mainly meant to make the request more specific. You should use it in cases when you need to pass custom parameters with your requests to the target site. Every header should contain Name & Value and you can add as many headers as you like.
Why am I getting an 'error' message when I setup the extension?
Why am I getting an 'error' message when I setup the extension?
There are few possible reasons for proxy error when setting up the extension:
Does the extension work with the Browser API?
Does the extension work with the Browser API?
No. The Browser API is not a proxy product, and is not compatible with the extension.
Can multiple machines use the extension on the same account?
Can multiple machines use the extension on the same account?
Yes. there is no limit on how many extensions are logging to the same account.
Can I let other people use the extension without providing my account credentials?
Can I let other people use the extension without providing my account credentials?
Yes!They will need to go to the extension setup page and login with the customer name, zone name and zone key of the zone you wish to let them access. All the zone info is available in the Zones section.You can also use this link in order to automatically insert your guest-login credentials:
How to grant access by email using Bright Data Extension?
How to grant access by email using Bright Data Extension?
This workflow is relevant to allow access to the Proxy Manager when integrated with a browser. The access is granted by updating the config file of the proxy manager.This can be done by sending the next API command:
- Change
remote-server-IPwith the server IP address of where the proxy manager is installed or 127.0.0.1 if it is installed locally. - Change
account_IDwith your Account ID on the settings page - Change
zone>,zone_password` with the relevant access parameters from the zone page - Change
emailwith the user’s email.
email.In the API output, the user’s password is also provided along with additional information such as the port number. It can be seen in the next example:
-
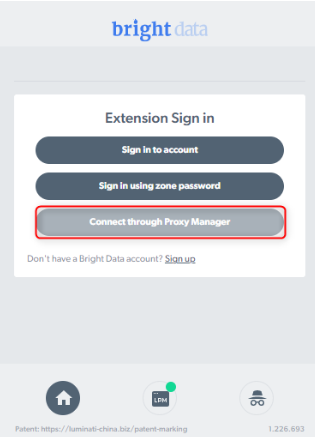
After installation select “Connect through proxy manager”

-
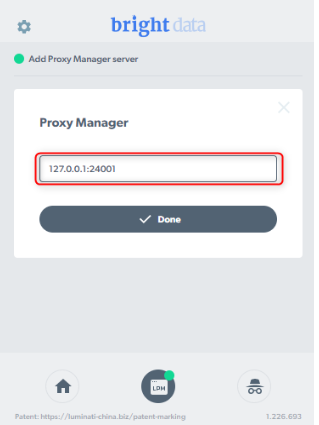
Enter the IP address of the Proxy Manager server along with the relevant port for example:

-
Select done. Then, click “Sign in”.

- Enter the credentials Received.