1
Access the Control Panel
- Log in to your Bright Data account and open the dashboard.
- Navigate to the Easy Scraper section from the left-hand menu.
- You will see a catalog of prebuilt scrapers designed for popular platforms such as Amazon products, Airbnb listings, Instagram posts, LinkedIn profiles, and more.
- Each scraper is optimized to collect structured data from its specific domain.

2
Select a Scraper
- Choose the scraper that matches the website or platform you want to collect data from.
- Click on the corresponding scraper card to open its configuration screen.
- Selecting the correct scraper ensures accurate extraction and domain-specific data fields.
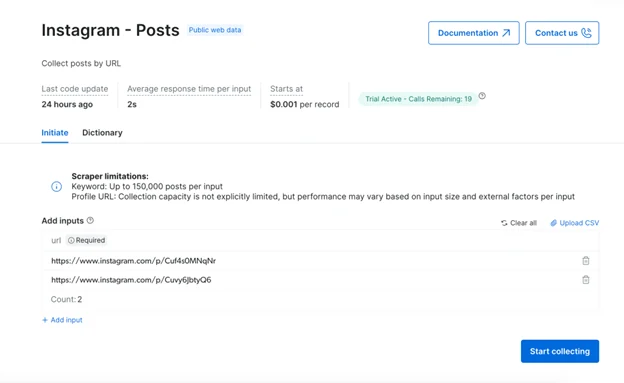
3
Input Parameters
- Provide the required input parameters for the selected scraper.
- Inputs vary depending on the platform and may include:
- Keywords or search terms
- Profile URLs or post URLs
- Listing or category page URLs
- Enter accurate inputs to ensure relevant and complete results.
4
Set Result Limit (Optional)
- Optionally, define the maximum number of records you want to collect.
- If a limit is set, the scraper stops once the limit is reached.
- If no limit is specified, the scraper will collect all available data based on your inputs.
- Setting a limit is useful when testing or when you only need a sample dataset.
5
Run and Monitor
- Click the Start Collecting button to begin the data collection process.
- You will be redirected to the Logs tab, where you can monitor the job in real time.
- The Logs tab displays key details such as:
- Snapshot ID
- Dataset name
- Timestamp
- Job status (Running, Completed, Failed)
- Collection time
- Number of records collected
- File size
- Any errors or warnings
6
Retrieve Data
- Once the data collection is complete, your dataset will be available for download.
- You can download the results in one of the following formats:
JSONCSVNDJSONJSON Lines
- Choose the format that best fits your analysis or integration workflow.
