Expand to get your Bright Data Proxy Access Information
Expand to get your Bright Data Proxy Access Information
Your proxy access information
Bright Data proxies are grouped in “Proxy zones”. Each zone holds the configuration for the proxies it holds.To get access to the proxy zone:- Login to Bright Data control panel
- Select the proxy zone or setup a new one
- Click on the new zone name, and select the Overview tab.
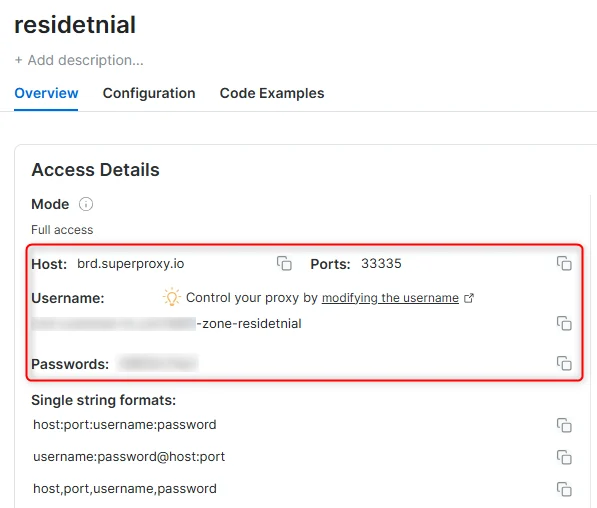
- In the overview tab, under Access details you can find the proxy access details, and copy them to clipboard on click.
- You will need: Proxy Host, Proxy Port, Proxy Zone username and Proxy Zone password.
- Click on the copy icons to copy the text to your clipboard and paste in your tool’s proxy configuration.
Access Details Section Example
Residential proxy access
To access Bright Data’s Residential Proxies you will need to either get verified by our compliance team, or install a certificate. Read more…Targeting search engines?
If you target a search engine like google, bing or yandex, you need a special Search Engine Results Page (SERP) proxy API. Use Bright Data SERP API to target search engines. Click here to read more about Bright Data SERP proxy API.Correct setup of proxy test to avoid “PROXY ERROR”
In many tools you will see a “test proxy” function, which performs a conncectivity test to your proxy, and some add a geolocation test as well, to identify the location of the proxy. To correctly test your proxy you should target those search queries to:https://geo.brdtest.com/welcome.txt .Some tools use popular search engines (like google.com) as a default test target. Bright Data will block those requests and you tool will show proxy error although your proxy is perfectly fine.If your proxy test fails, this is probably the reason. Make sure that your test domain is not a search engine (this is done in the tool configuration, and not controlled by Bright Data).Getting started with Webscraper.io
- Install Web Scraper browser extension via Chrome Store
- Sign up for Webscraper.io Cloud
- Subscribe to Scale plan
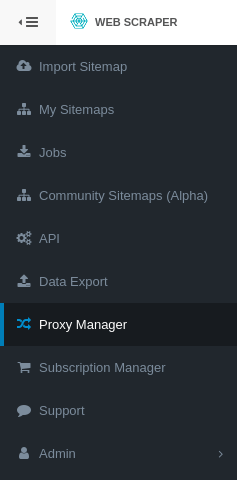
- Open “Proxy Manager” on the left-side toolbar
Create a proxy in Bright Data
- Go to your Bright Data Dashboard and click Add Zone
- Select a network type and press Add Zone
- Back in your Bright Data dashboard, click a Zone name
- Take note of your Zone username and password
- Switch back to the Web Scraper Cloud Proxy Manager
- Choose Bright Data Proxy as the designated Proxy Server

- Input a custom name, the username, and password form Bright Data created zone. If needed, limit your proxy region by selecting a country in the drop-down menu.

- Click Add Proxy
- The custom proxy will now be listed down below

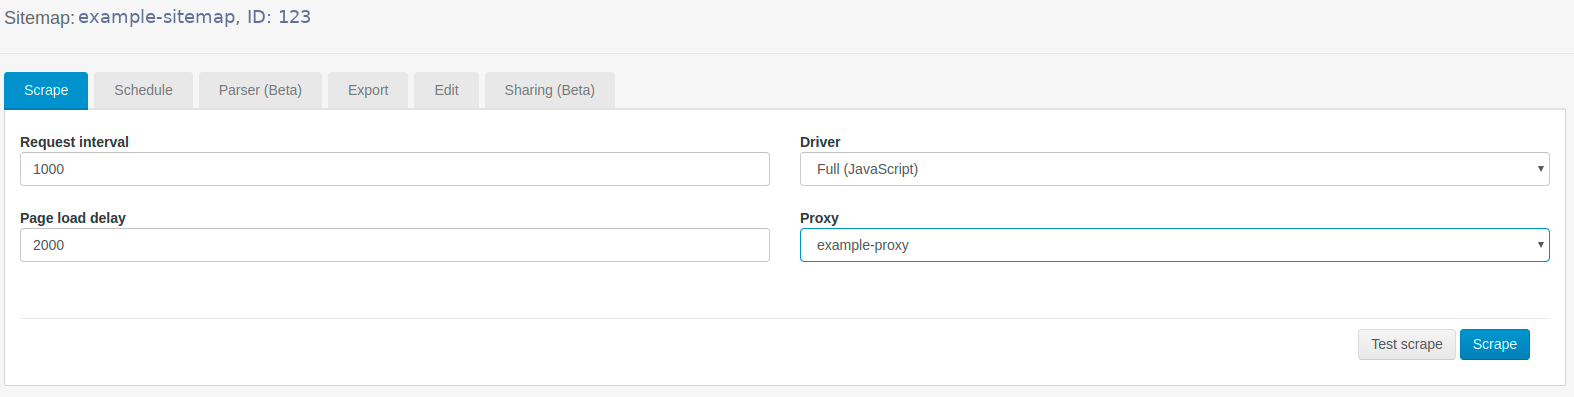
- To use a proxy for a scraping job, go to “My Sitemaps” from the menu on the left side

- Click Details Page next to the sitemap you want to scrape

- From the Proxy drop-down menu select the created proxy and click Scrape