DICloak Proxy Integration
DICloak is a powerful anti-detect browser designed to provide secure and anonymous internet browsing. It offers dynamic fingerprinting, profile management, and robust proxy support, making it an essential tool for professionals seeking enhanced privacy and data collection capabilities.DICloak and Bright Data: A Powerful Integration for Secure Browsing
Integrating DICloak with Bright Data’s proxy solutions creates a robust combination for privacy-focused professionals. Here’s how Bright Data enhances DICloak:- Global Proxy Coverage: Access 400M+ monthly residential IPs across 195+ countries for region-specific browsing, the largest proxy network in the world.
- Enhanced Privacy: Secure and anonymous browsing with reliable proxy support.
- Geo-Bypassing: Easily access restricted content for international projects.
- Optimized Speed: High-performance proxies ensure fast connections.
- Versatile Applications: Suitable for web scraping, data collection, and more.
How to Integrate Bright Data With DICloak
Download and Install DICloak
- Download the DICloak browser suitable for your operating system.
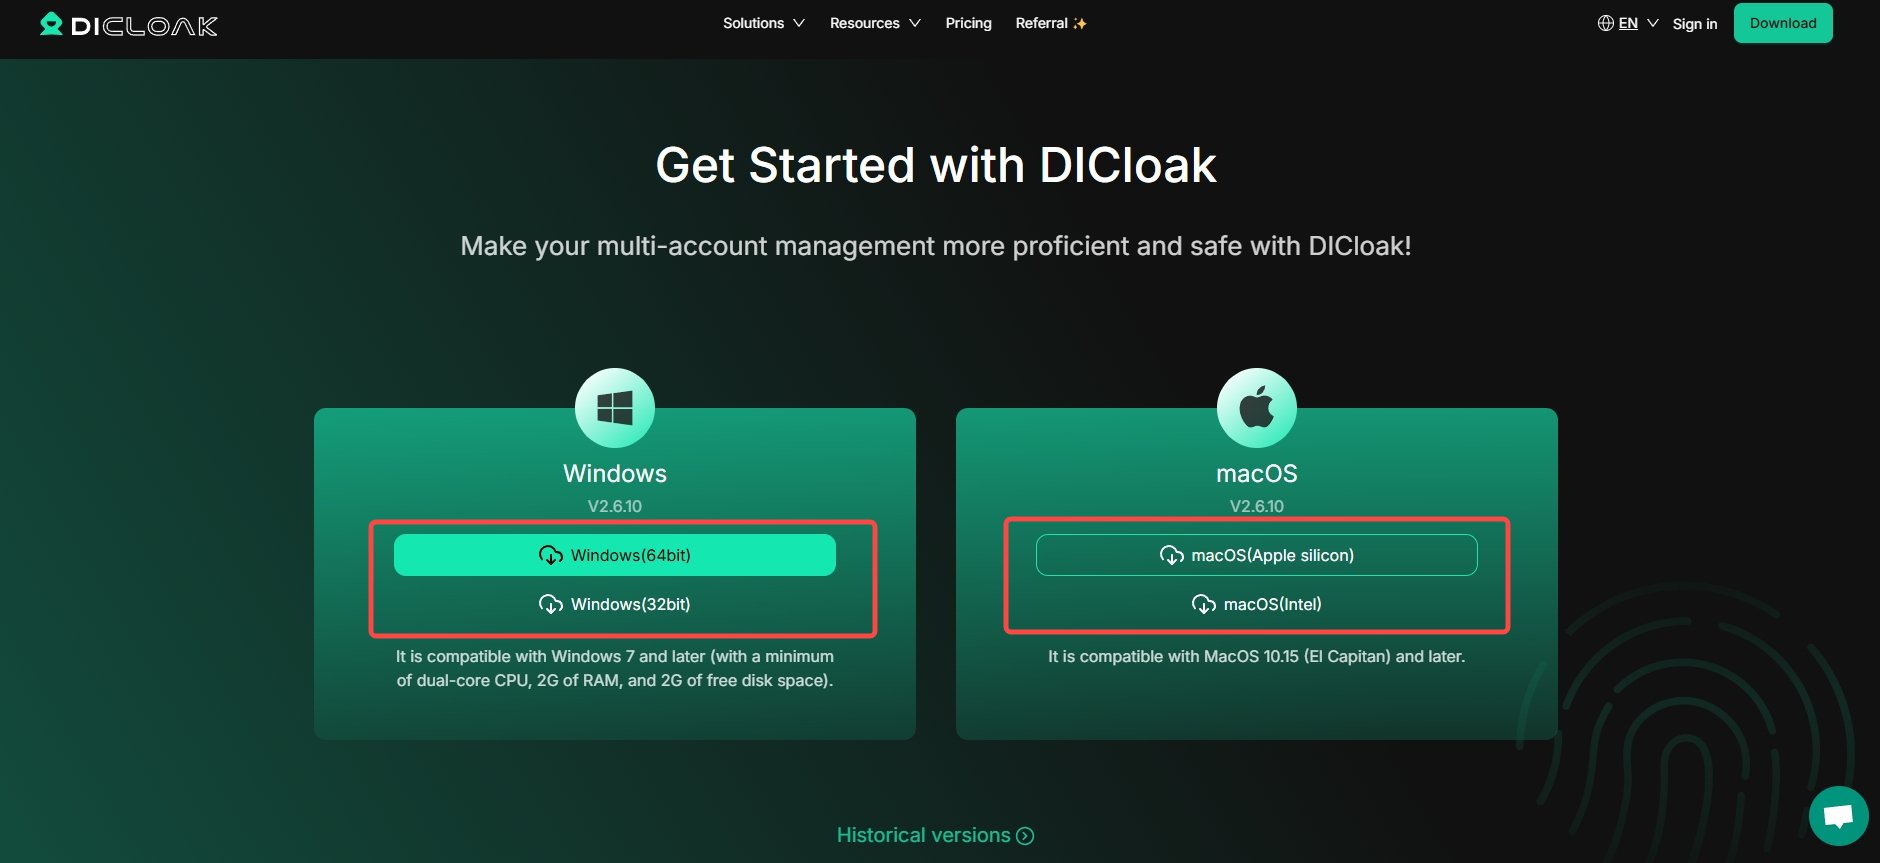
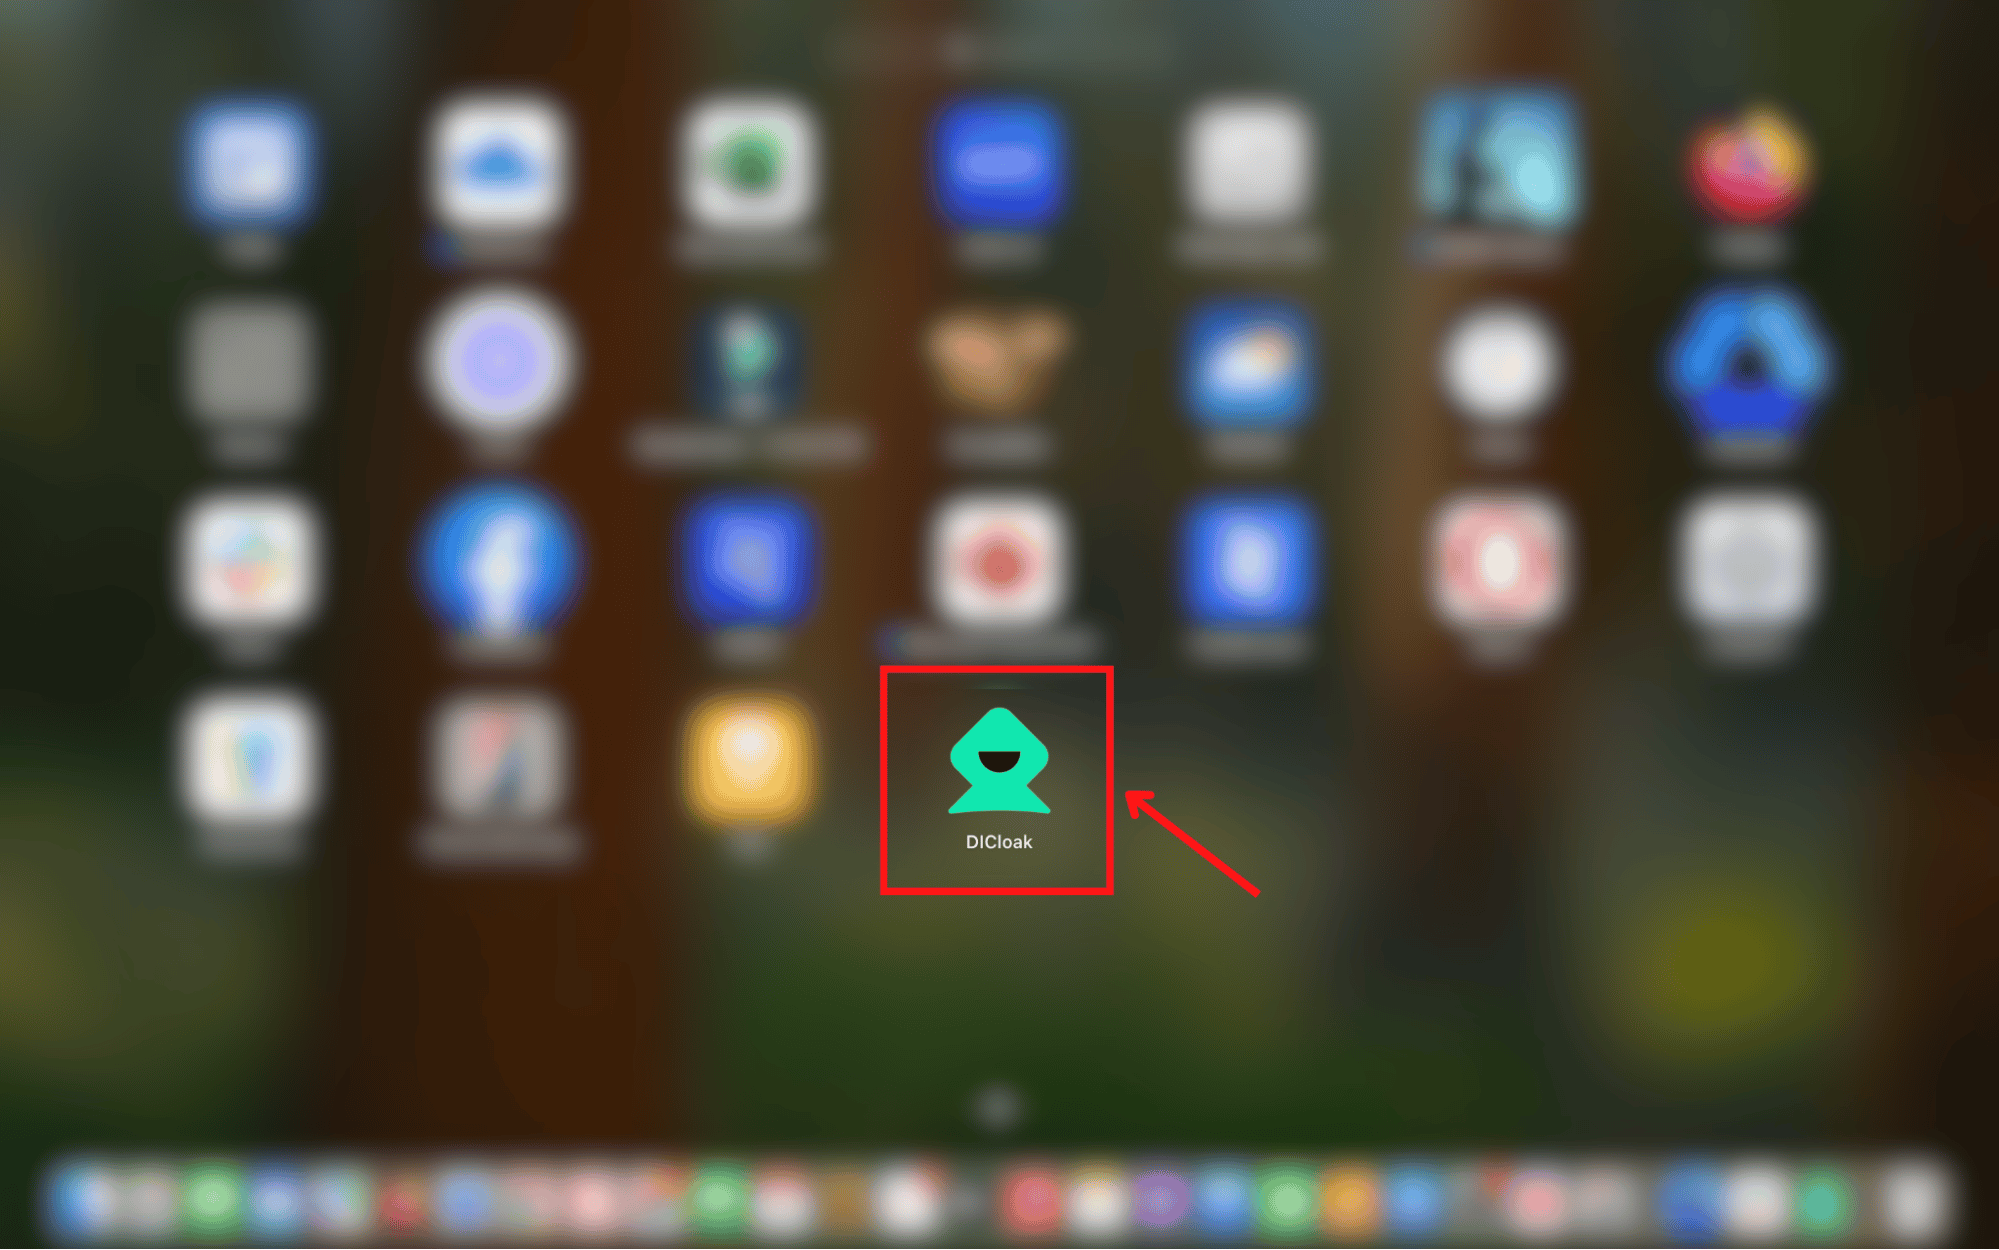
- Install DICloak and launch the app.
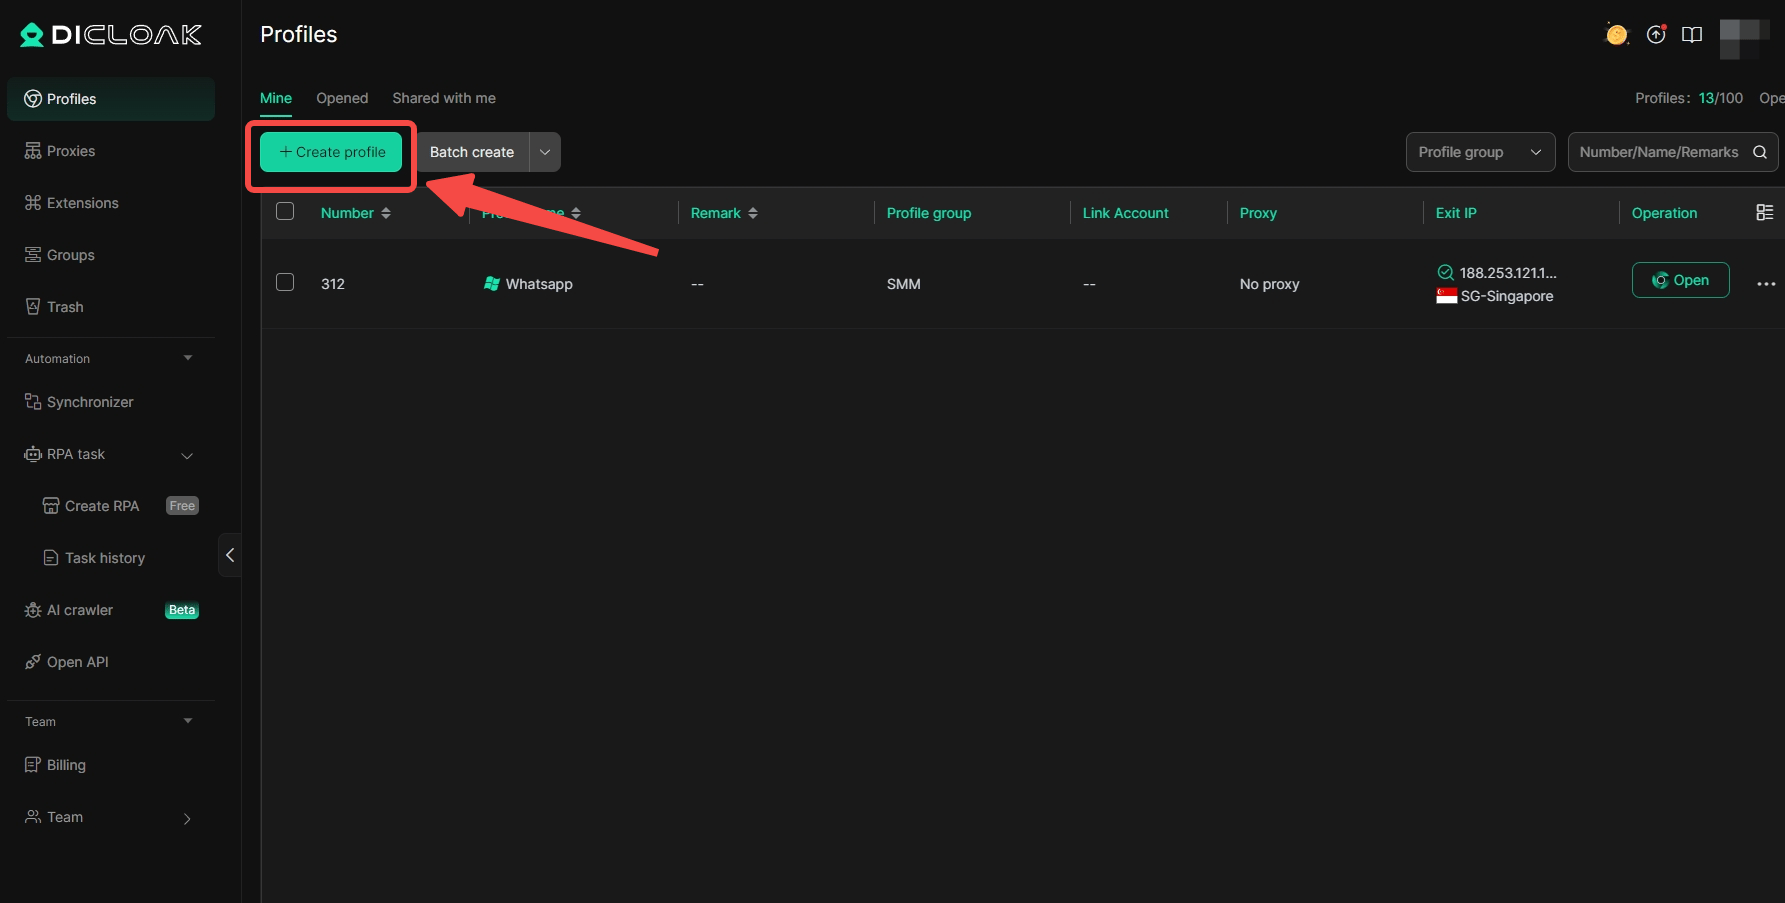
Create a New Profile
- Click on the + Create Profile button.
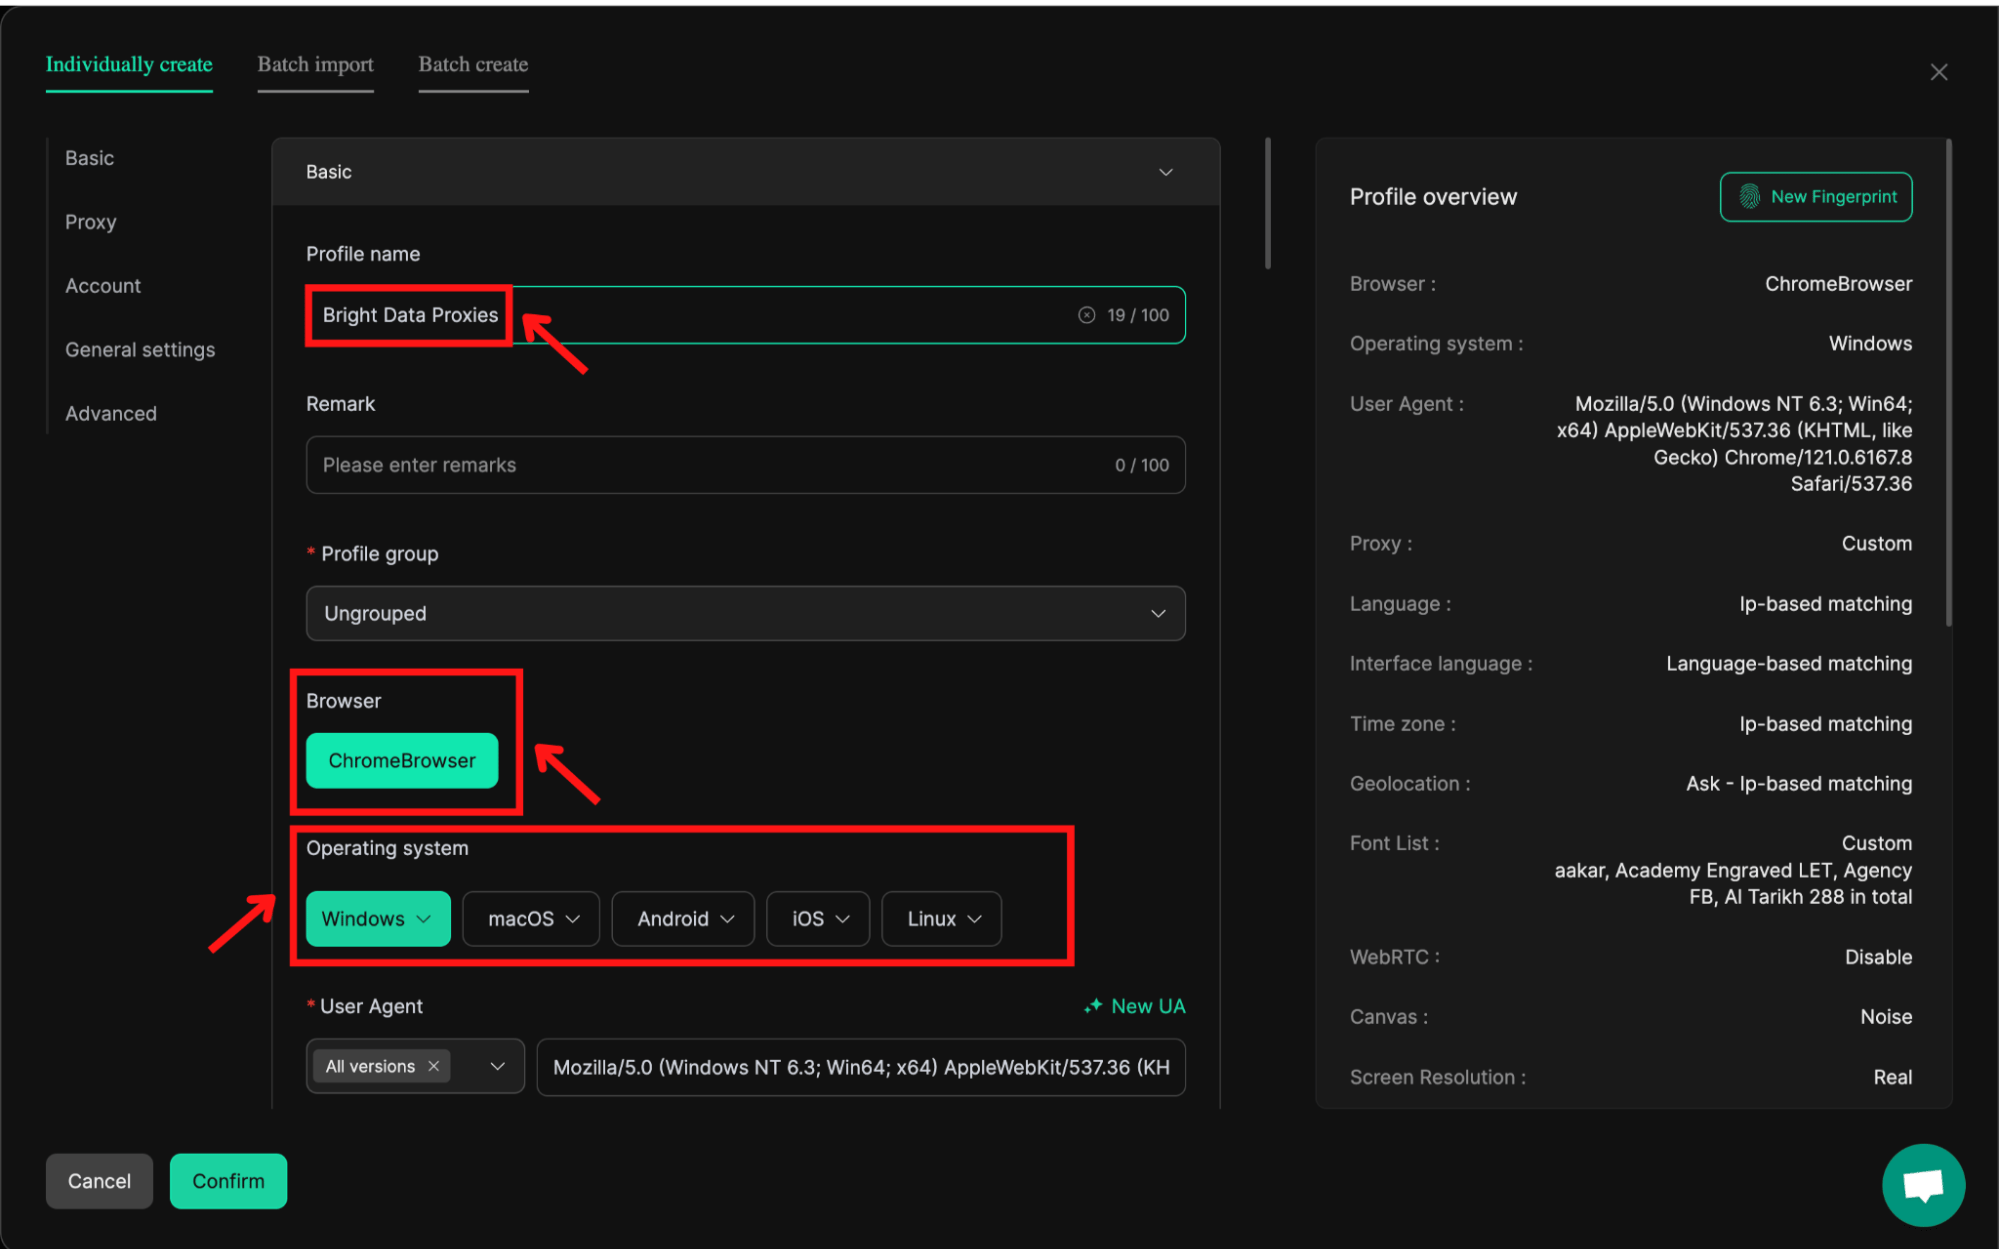
- Set up the basic profile:
- Enter a Profile Name.
- Choose the browser and operating system.
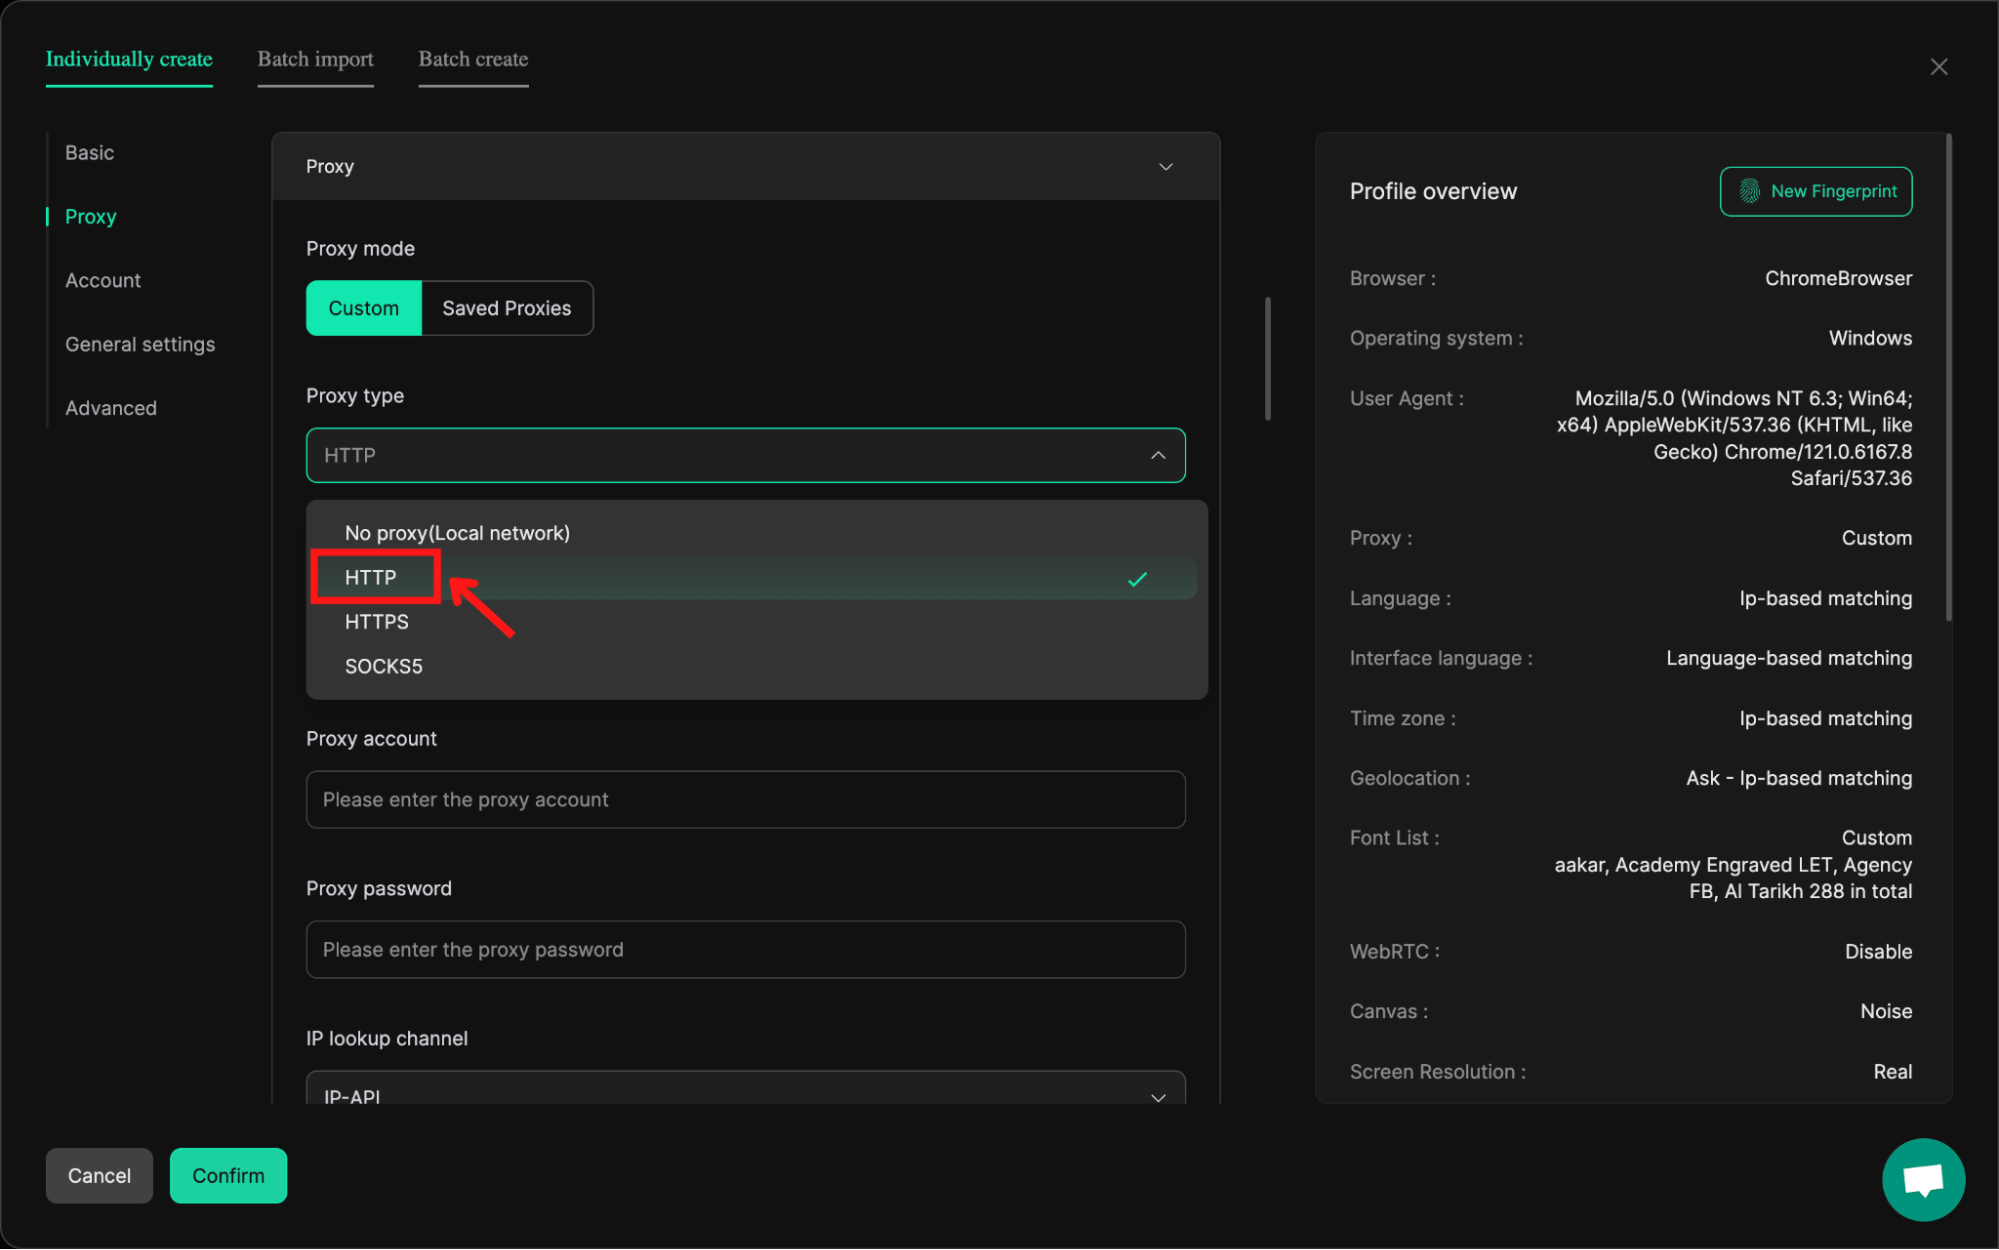
Proxy Configuration in DICloak
- Scroll down to the Proxy section and set proxy details:
- From the Proxy Type dropdown, select
HTTP.
-
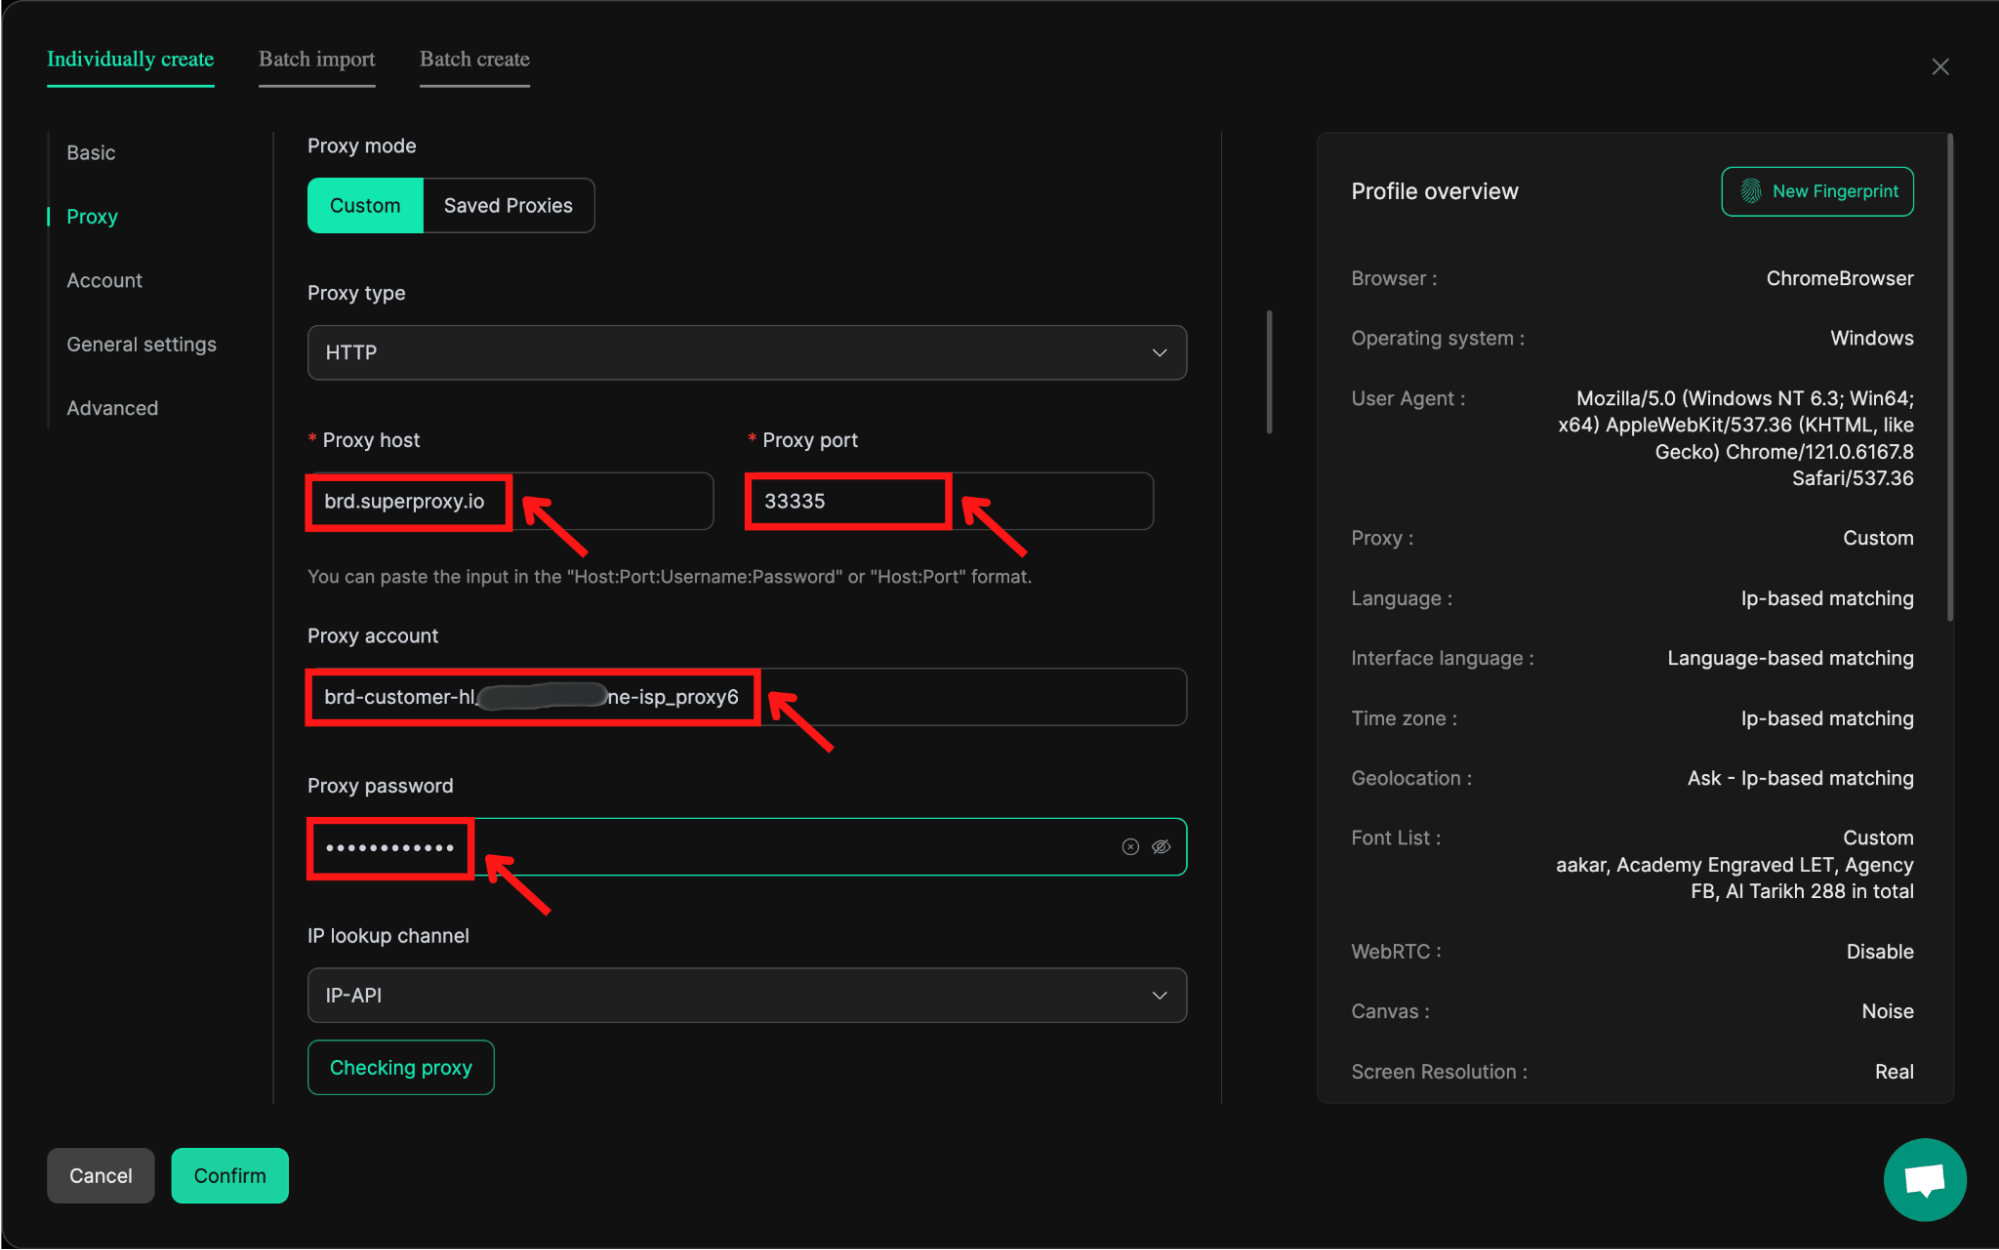
Enter the following details:
- Host:
brd.superproxy.io - Port:
33335 - Account Name: Enter your Bright Data username.
- Password: Enter your Bright Data password.
- Host:
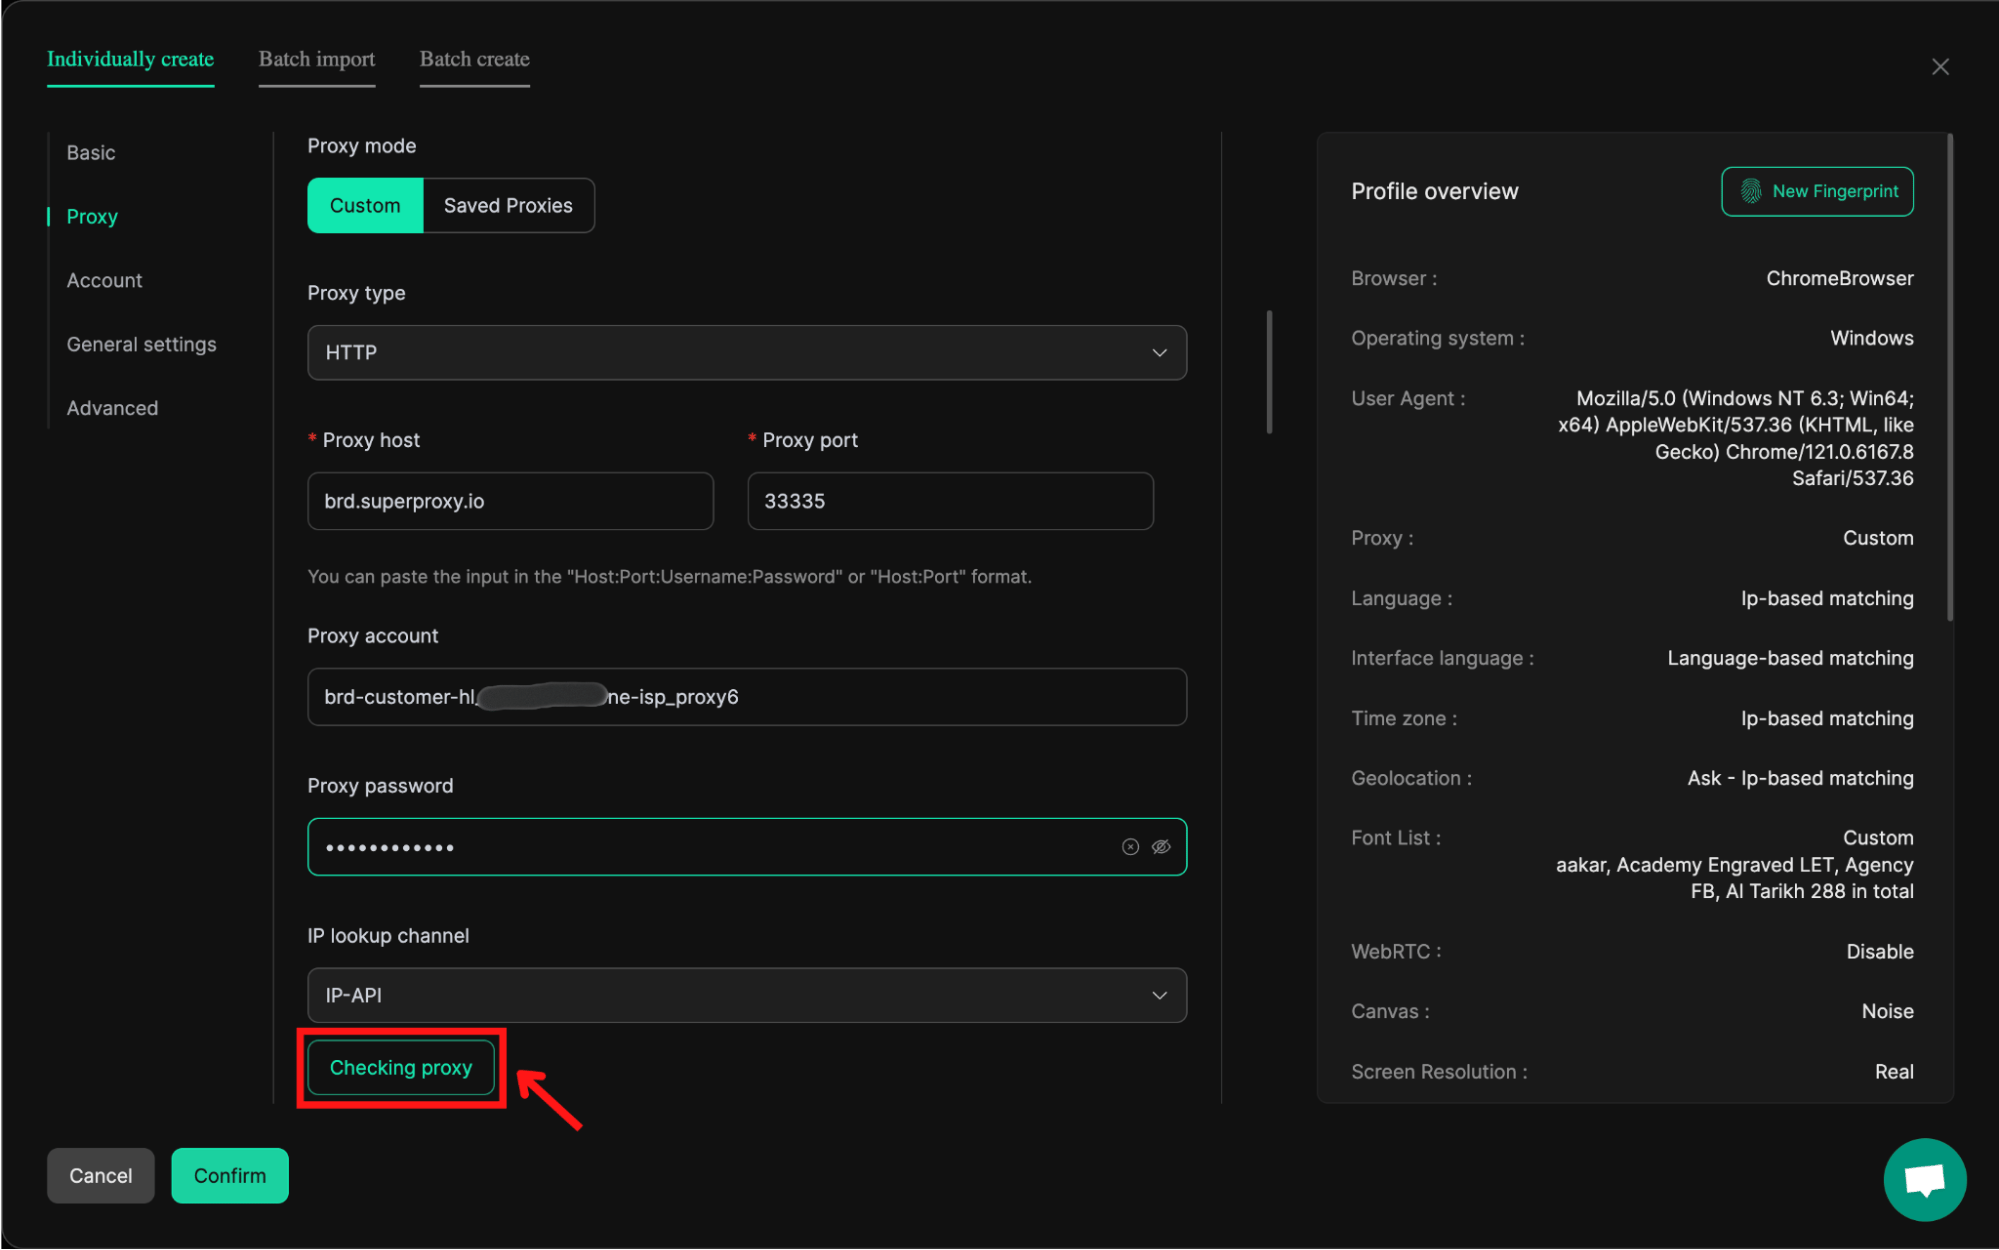
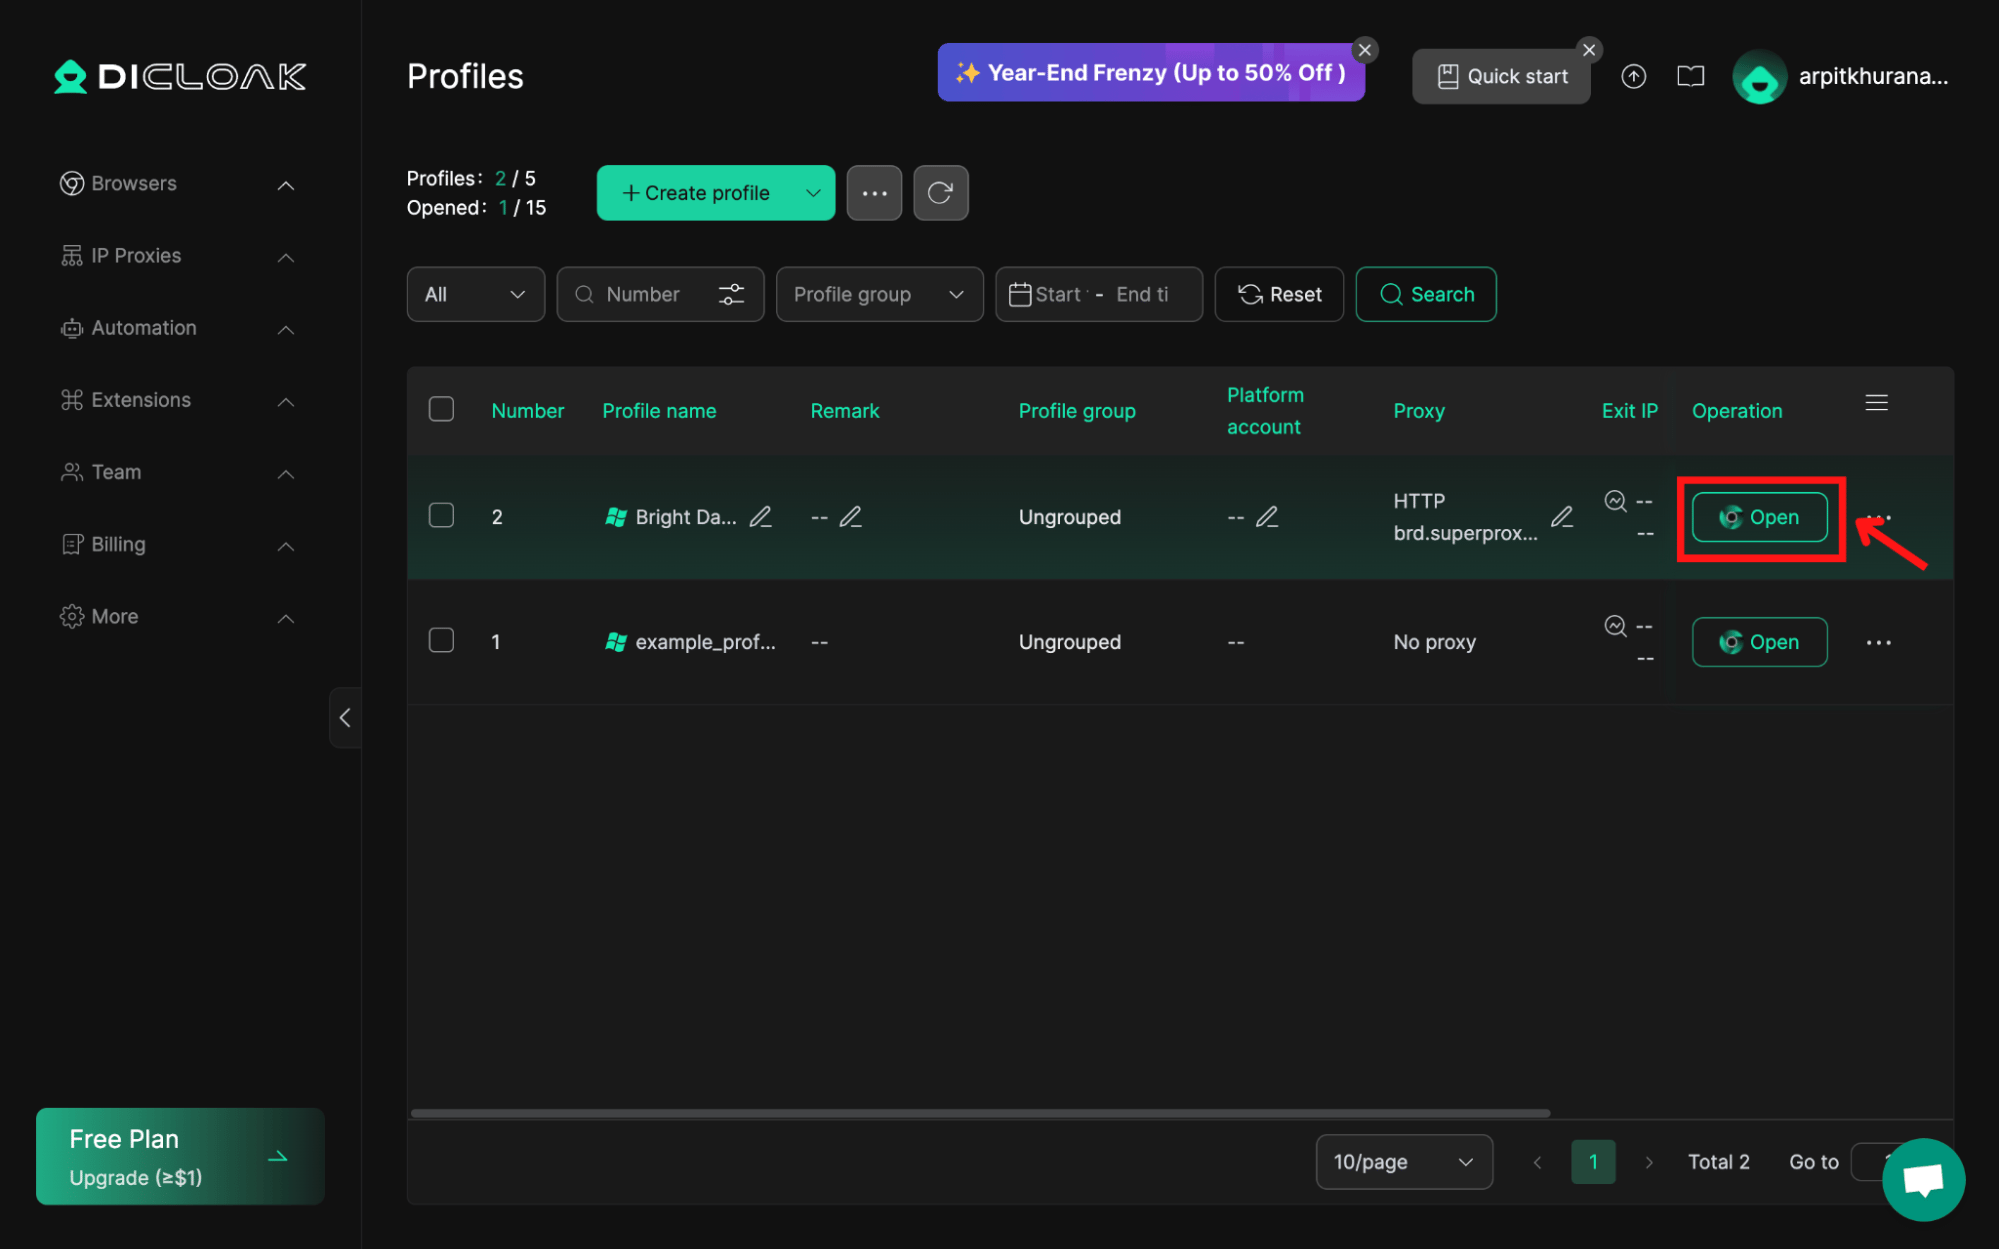
Test your Proxy
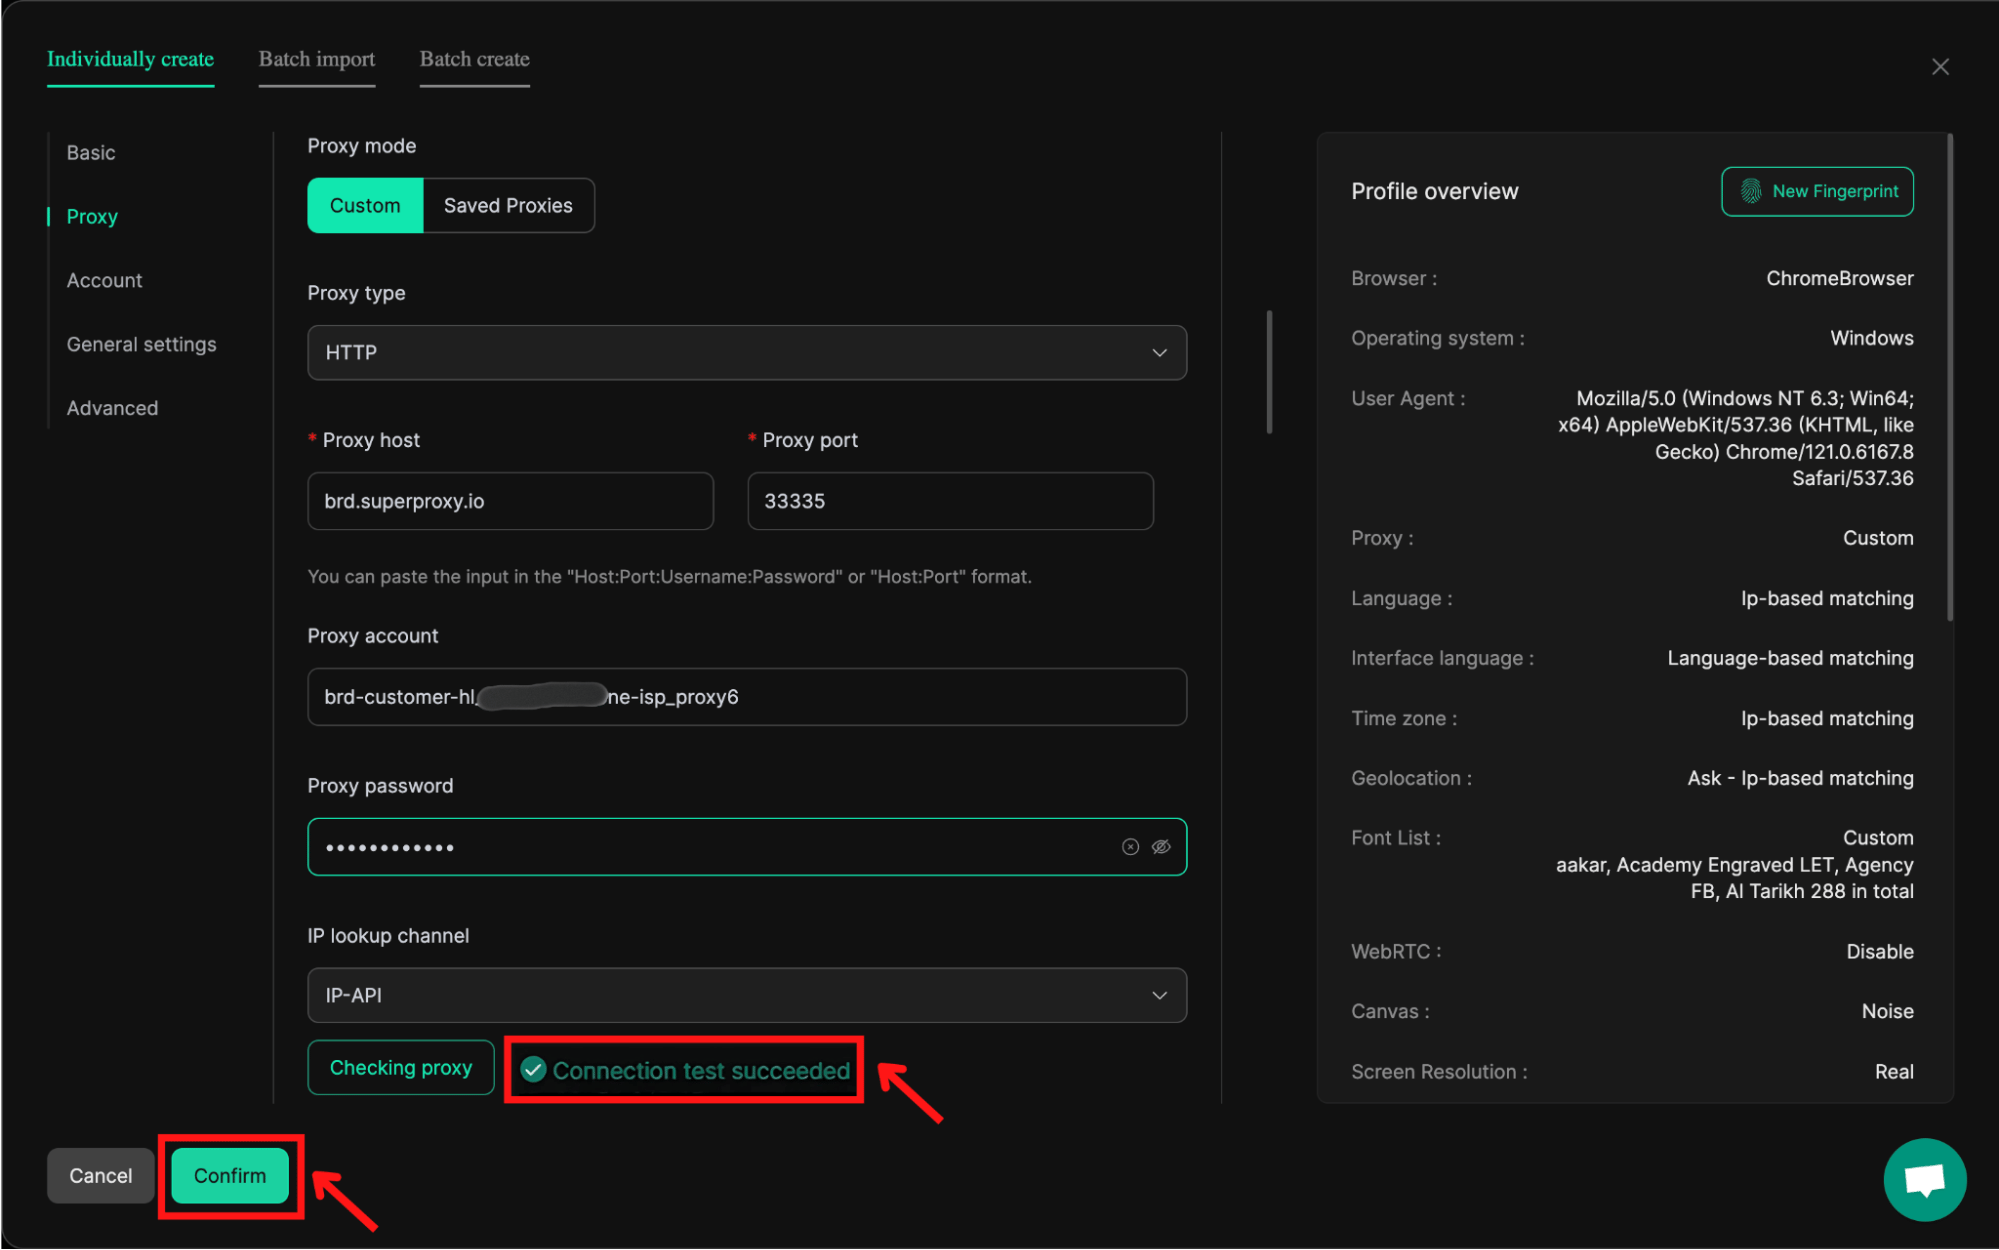
- Click on the Check Proxy button to test the connection.
- Ensure the connection test is successful and confirm the settings.

What else to keep in mind
- Session Control: Bright Data allows session customization. Configure session persistence to maintain the same IP or rotate IPs as needed for your tasks.
- Proxy Pooling: Utilize Bright Data’s proxy pool for larger data collection projects.
- DICloak Enhancements: Leverage DICloak’s unique anti-detect features to mimic human-like browsing behavior.