Expand to get your Bright Data Proxy Access Information
Expand to get your Bright Data Proxy Access Information
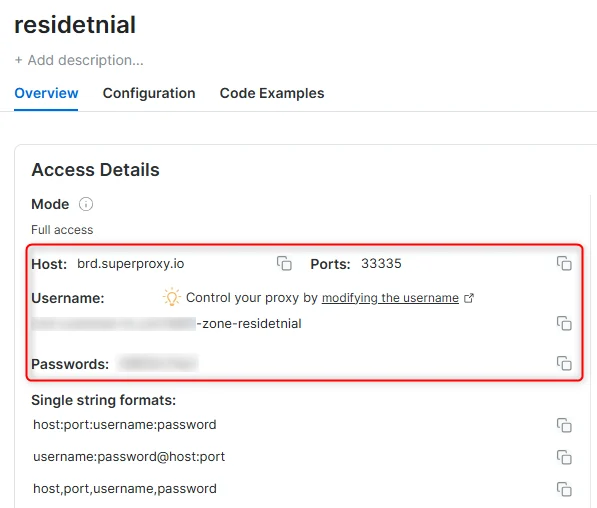
Your proxy access information
Bright Data proxies are grouped in “Proxy zones”. Each zone holds the configuration for the proxies it holds.To get access to the proxy zone:- Login to Bright Data control panel
- Select the proxy zone or setup a new one
- Click on the new zone name, and select the Overview tab.
- In the overview tab, under Access details you can find the proxy access details, and copy them to clipboard on click.
- You will need: Proxy Host, Proxy Port, Proxy Zone username and Proxy Zone password.
- Click on the copy icons to copy the text to your clipboard and paste in your tool’s proxy configuration.
Access Details Section Example
Residential proxy access
To access Bright Data’s Residential Proxies you will need to either get verified by our compliance team, or install a certificate. Read more…Targeting search engines?
If you target a search engine like google, bing or yandex, you need a special Search Engine Results Page (SERP) proxy API. Use Bright Data SERP API to target search engines. Click here to read more about Bright Data SERP proxy API.Correct setup of proxy test to avoid “PROXY ERROR”
In many tools you will see a “test proxy” function, which performs a conncectivity test to your proxy, and some add a geolocation test as well, to identify the location of the proxy. To correctly test your proxy you should target those search queries to:https://geo.brdtest.com/welcome.txt .Some tools use popular search engines (like google.com) as a default test target. Bright Data will block those requests and you tool will show proxy error although your proxy is perfectly fine.If your proxy test fails, this is probably the reason. Make sure that your test domain is not a search engine (this is done in the tool configuration, and not controlled by Bright Data).What is MoreLogin?
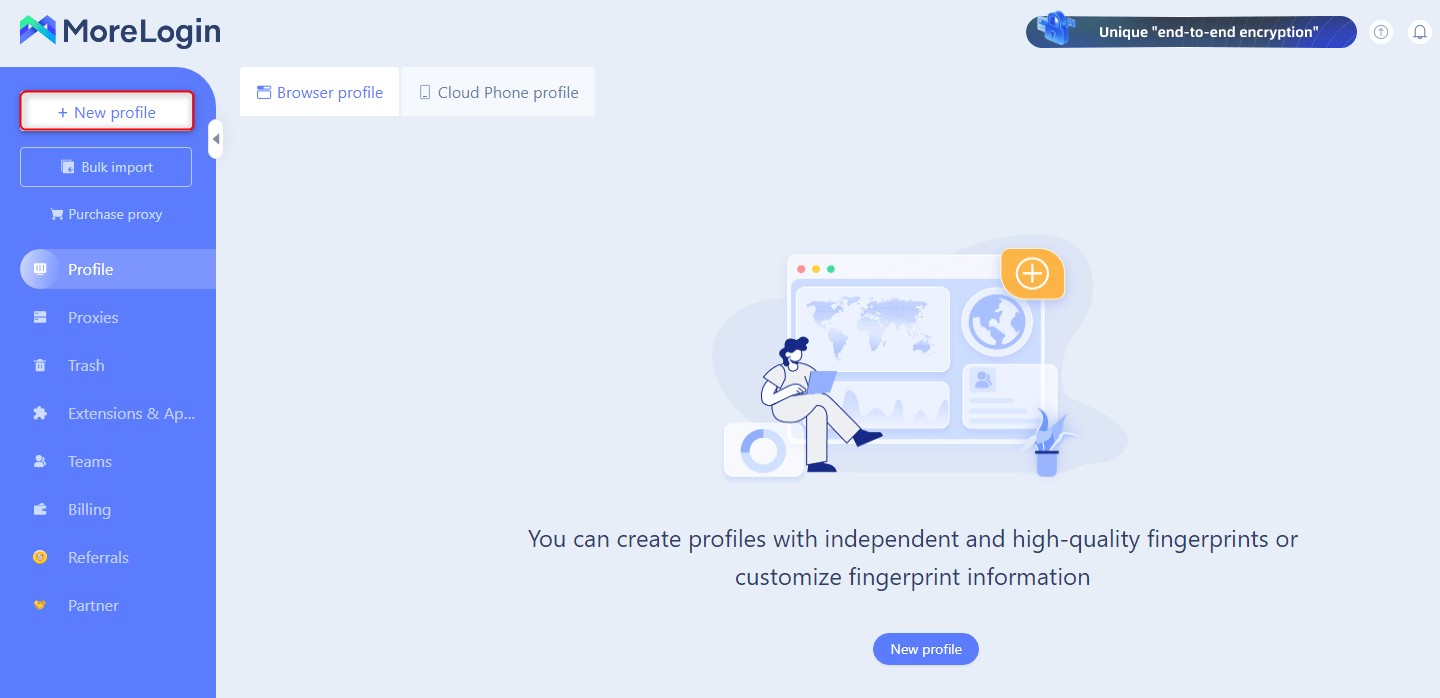
MoreLogin is a powerful tool designed to help you manage multiple online identities from a single device. Perfect for privacy-conscious users, marketers, and researchers, MoreLogin allows you to operate several profiles, each as a unique digital identity. Each profile has its own IPs, cookies, and device fingerprints, reducing the risk of detection and account bans. With seamless proxy integration, MoreLogin adds another layer of anonymity to your online activities. Plus, it supports profile sharing, making it ideal for affiliate marketing, market research, and data collection. Whether you’re scaling data collection or growing your research operations, MoreLogin helps you stay secure and efficient.MoreLogin Proxy Integration
Here’s how you can easily integrate Bright Data proxies with MoreLogin:Install MoreLogin
Visit the MoreLogin website to download and install the app.
Set Initial Profile Settings
Enter the profile name, select your desired browser fingerprint, and click Advanced Create to access additional settings.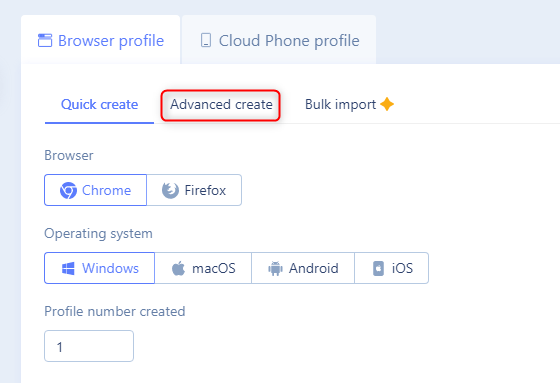
Configure Proxy Settings
Scroll to the Proxies section and enter your Bright Data proxy details: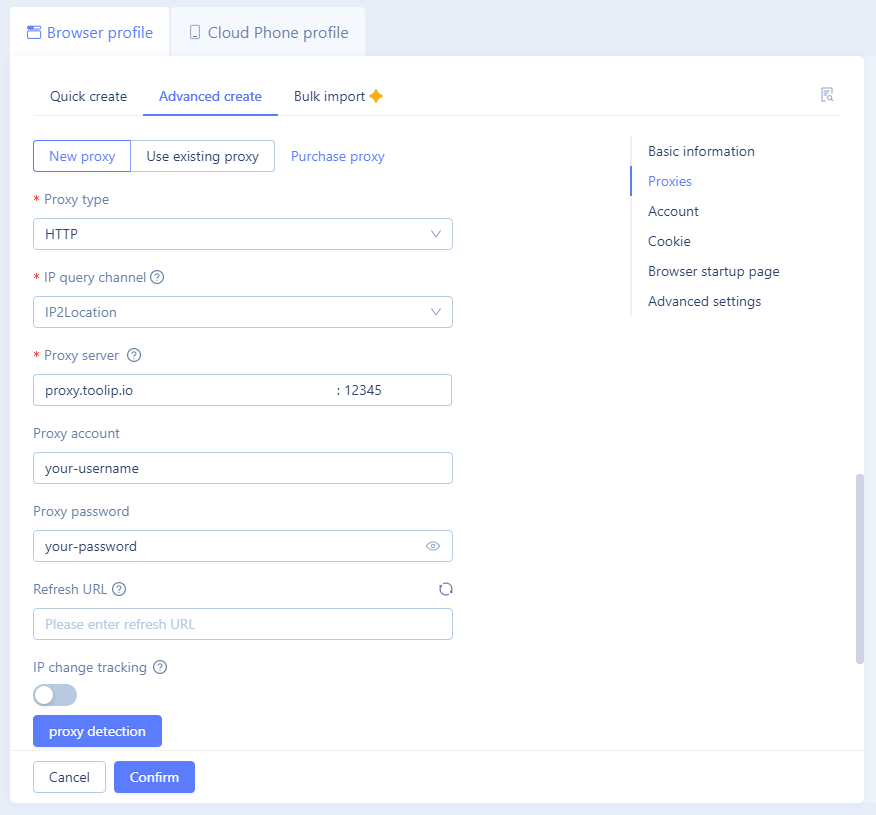
- Proxy Type: Choose from
HTTP,HTTPS, orSOCKS5(based on your proxy type). - Proxy Server: Enter
http://brd.superproxy.io/. - Proxy Port: Use the port number provided in your Bright Data dashboard.
- Proxy Account: Enter your Bright Data proxy
username. - Proxy Password: Enter your Bright Data proxy
password.
You can also specify a country for your proxy. For instance, entering
your-username-country-US will give you a US-based exit node.